Nozzle Verification Technology Trouble Check
Required Tools
PGPP250 that is more than 16 inches (Premium Glossy Photo Paper(250))
Estimate Time
Approx. 5 min.
Startup Mode
Repair mode
Standard Values
---
Step
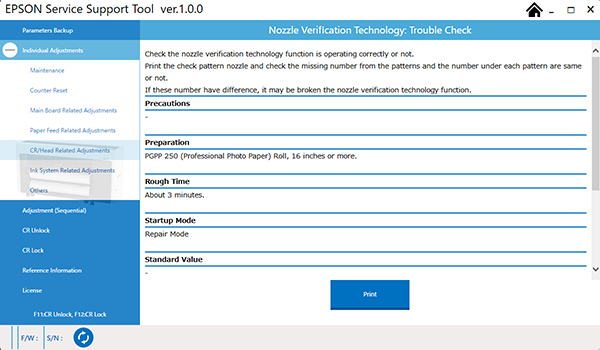
- Start the printer in repair mode. Turn the power on while touching [Screen Center], and keep pressing until the mode select screen is displayed. Touch the center of the panel to start repair mode.
- Set the paper.
- Start the Service Program, and select Nozzle Verification Technology Trouble Check.
Click the [Print] button to print the alignment check pattern.
- Respond as follows in accordance with the displayed results.
- If the nozzle clog count is "0", and printed on each row.
If characters in the check pattern are normal and there is no nozzle clogging in the printed check pattern, this indicates that results match, so finish confirmation.
If characters in the check pattern are abnormal (nozzle misalignment, or nozzle clogging), then perform cleaning for those rows, and again print the test pattern.
 If normal, finish checking.If abnormal results appear again, go to Step 6.
If a nozzle clog count of "other than 0" is printed on each row: Confirm that the displayed nozzle clog count for each row and the nozzle clog counts for the printed alignment check pattern match.
If these match:
Finish the confirmation.- If these do not match:
Go to Step 6.
- If the nozzle clog count is "0", and printed on each row.
- After reinserting the FFC that was inserted and removed when replacing the parts, perform cleaning and perform this check again. If this is still unsuccessful, replace the Print Head.