Platen Suction Fan.
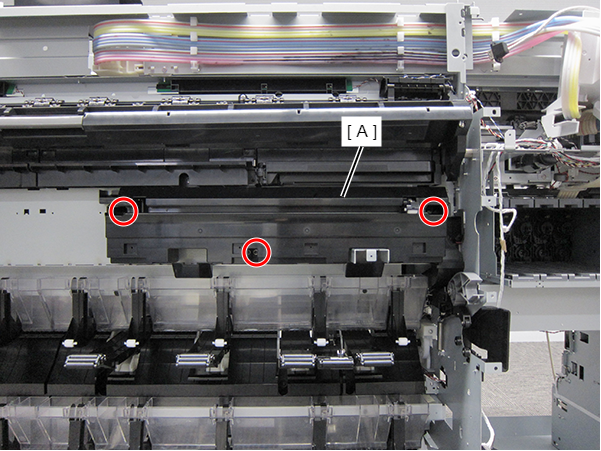
- Remove the three screws and remove the Front Paper Guide Right Support (A).
 : Silver M3x10 Cup P-tite screw
 : Silver M3x8 Cup S-tite screw
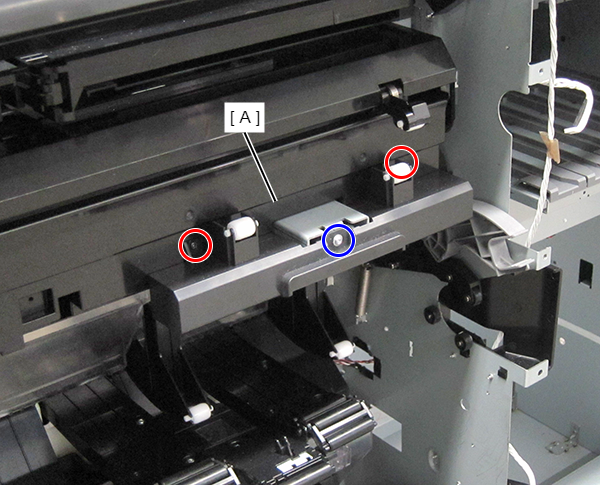
- Remove the three screws and remove the Front Paper Guide Right (A).
- : Silver M3x8 Cup S-tite screw
 Caution / 注意
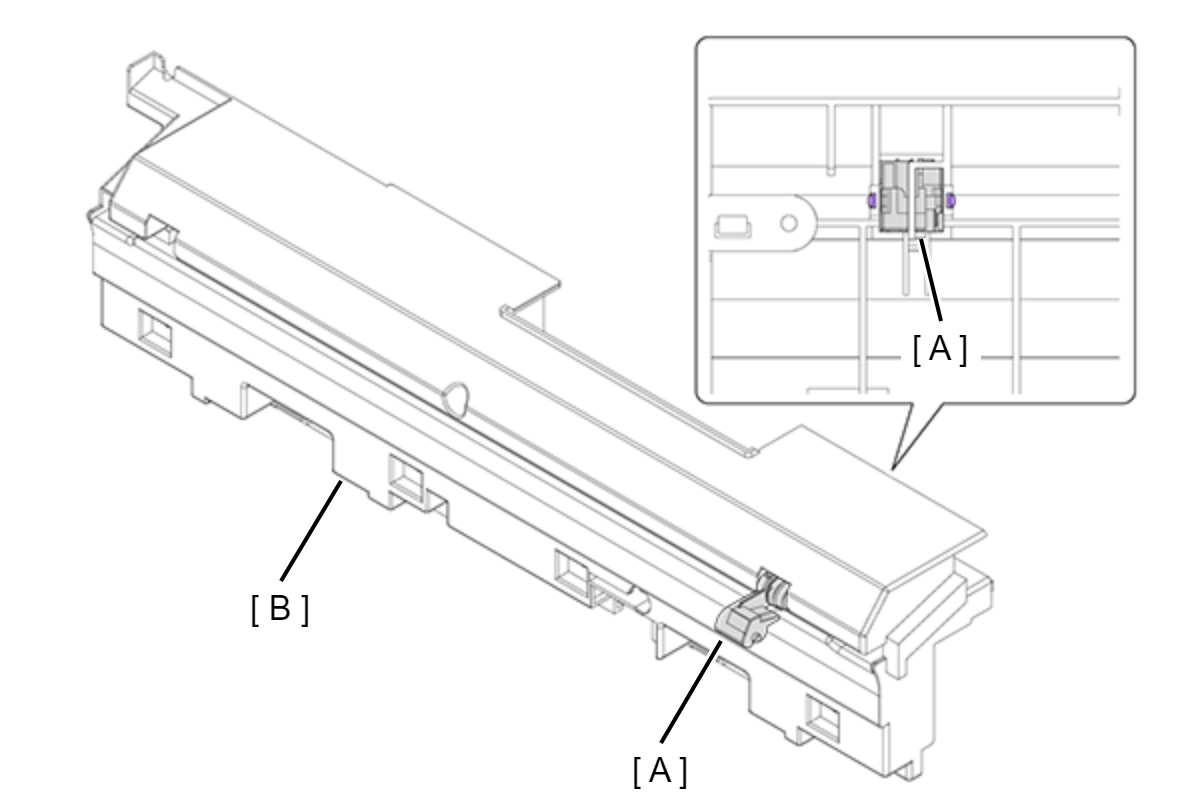
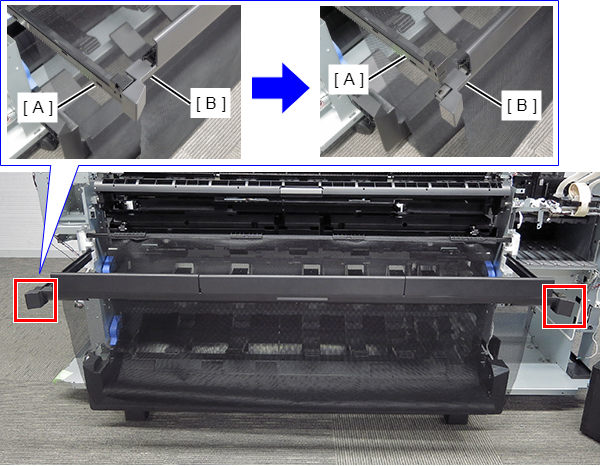
When the roller (A) is removed from the Front Paper Guide Right (B), align the 2 dowels of the roller (A) with the Front Paper Guide Right (B) positioning holes to install.
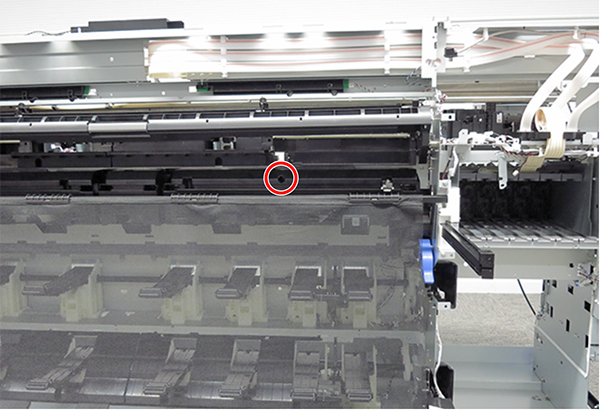
Pull out the Paper Basket Unit (A).
- Press down each end of the Paper Basket Unit (B) to disengage it from both shafts (A.
- Remove the screw.
- : Silver M3x40 Cup S-tite half screw
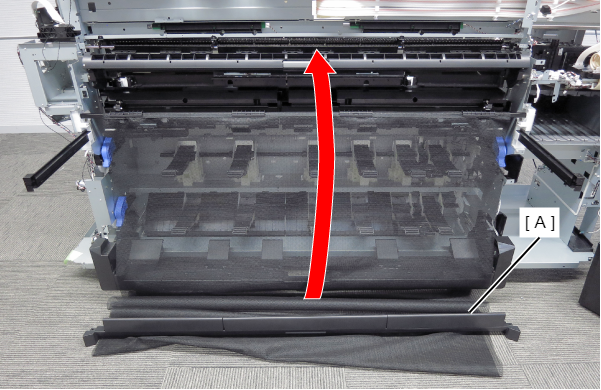
- Put the Paper Basket Unit (A) on top of the printer.
- Remove the three screws and then remove the cover.
- : Silver M3x10 Cup P-tite screw
- : Silver M3x8 Cup S-tite screw
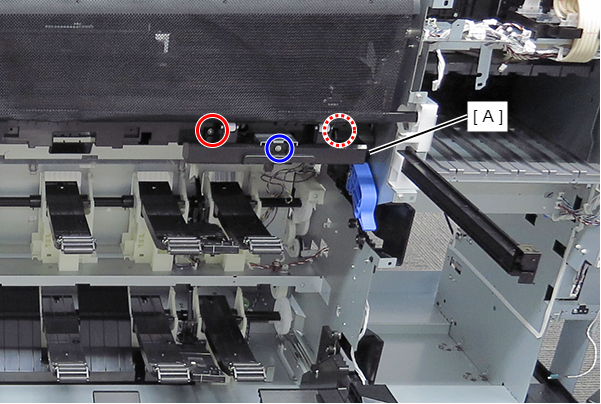
- Remove the two screws, and remove the Platen Suction Fan (A).
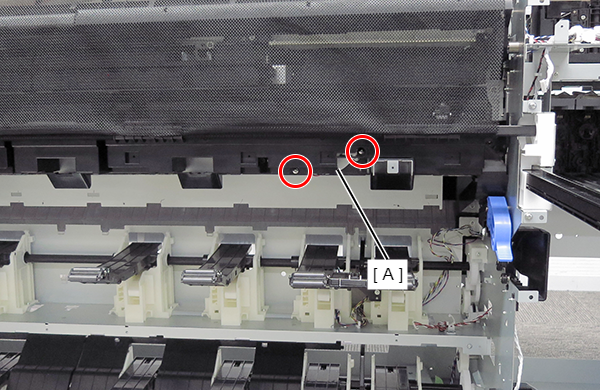
- : Silver M3x40 Cup S-tite half screw
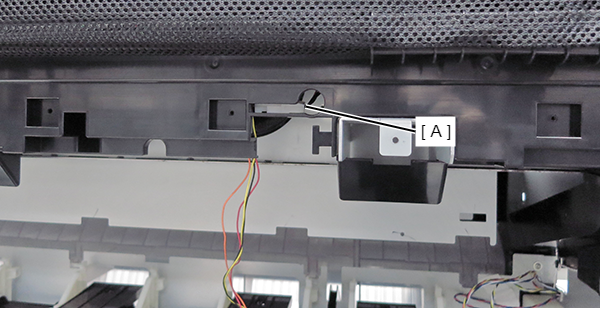
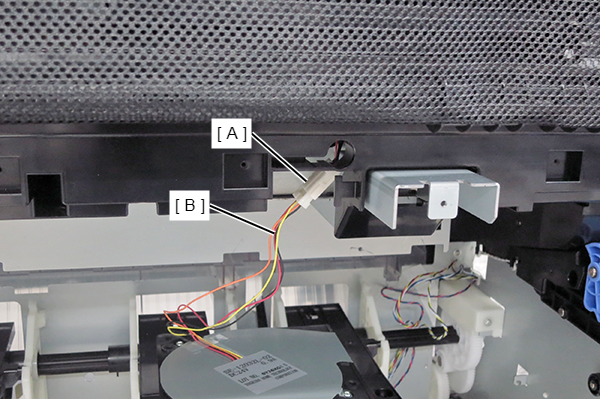
Pull out the connector (A) of the Platen Suction Fan using longnose pliers.
 Assemble / 組み立て
Place the connector of the Platen Suction Fan as shown.
- Remove the cable (B) from the connector (A).
 Adjustment / 調整 Adjustment / 調整 |
When replacing/removing this part, refer to following page and make sure to perform the specified operations including required adjustment. |