Cut Position Check & Adjustment
Required Tools
- PGPP250: Premium Glossy Photo Paper (250) that is more than 16 inches
- Scale
Estimate Time
Approx. 10 min.
Startup Mode
Repair mode
Standard Values
15.0 +/- 0.3 mm
Step
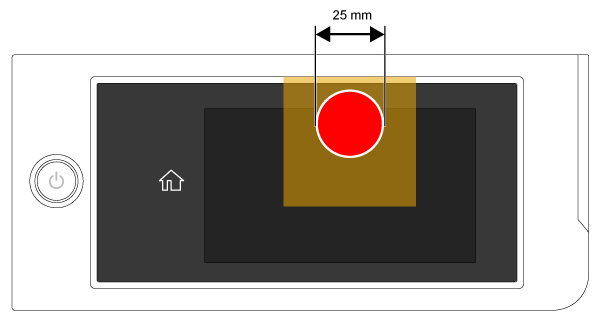
- Start the printer in repair mode. Turn the power on while touching [Screen Center], and keep pressing until the mode select screen is displayed. Touch the center of the panel to start repair mode.
Set the paper.
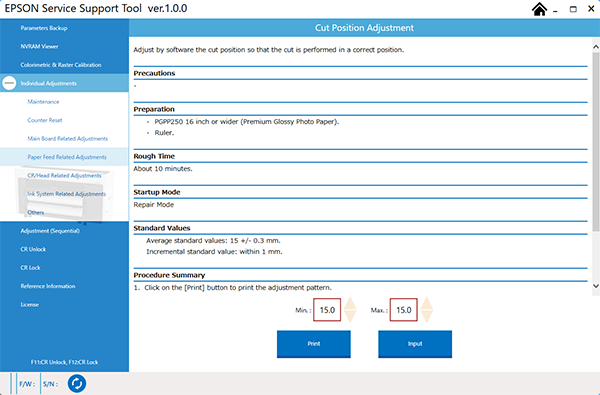
Start the Service Program, and select Cut Position Check & Adjustment.
Click the [Print] button to print the adjustment pattern.
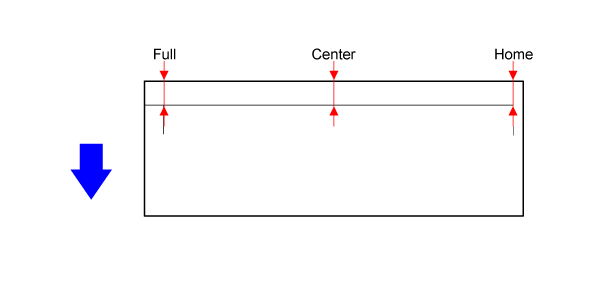
Measure the three distances, at the home side, center, and the full side, shown in the figure. (Paper is fed from the direction of the arrow.)
Check if the average of the maximum and minimum distances falls within the standard range.
Within the standards: Go to step 9
Out of the standards: Go to step 7
Enter the maximum and the minimum distances measured in step 6 into the Service Program.
Click the [Input] button, perform step 4 and step 5, then go back to step 6.
Turn the printer OFF to finish the adjustment.