Scanner Unit Replacement Date & Time Setting
Required Tools
---
Estimate Time
Approx. 1 min.
Startup Mode
Repair mode
Standard Values
---
Step
 Check Point / チェックポイント Check Point / チェックポイント |
If the scanner driver is not installed the PC, communication will not be possible printer and PC and an error will occur. Be sure to install the scanner driver before performing the service program. |
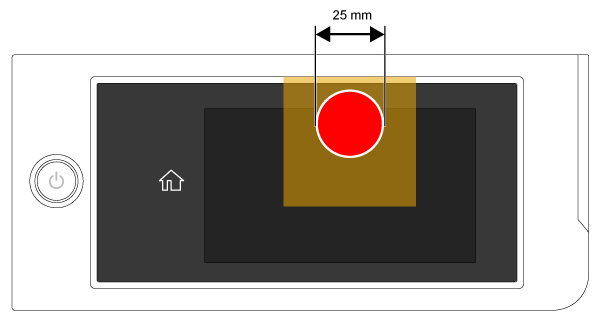
- Turn the power on while touching [Screen Center], and keep pressing until the mode select screen is displayed. Touch the center of the panel to start repair mode.
- Start the Service Program, and select Scanner Unit Replacement Date & Time Setting.
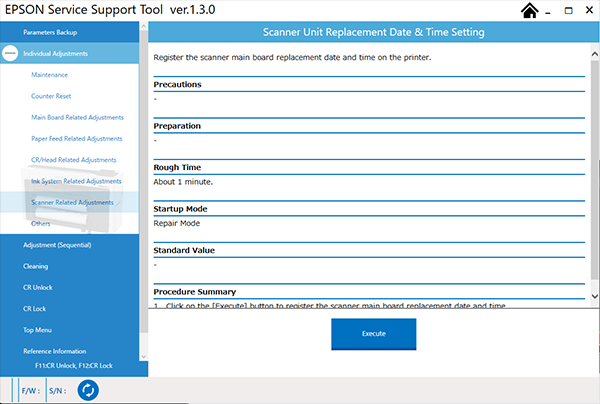
- Click the [Execute] button, then click the [OK] button to open a separate window.
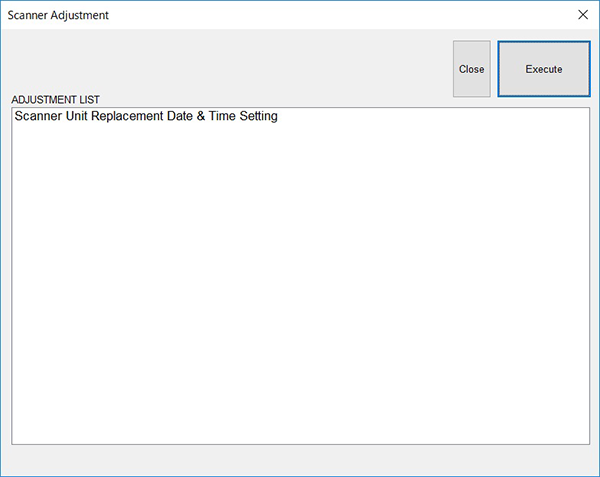
- Double-click Scanner NVRAM Restore displayed in the separate window.
- When the file selection dialog is displayed, select the NVRAM data to write, and click [Save]. Data writing starts.
- When a success message is displayed, press the [OK] button. Printer turns off automatically .