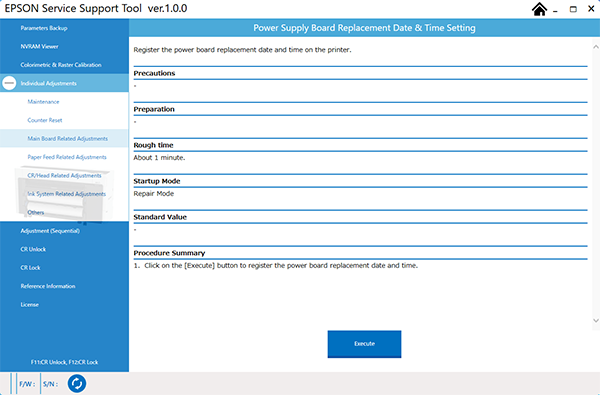
Power Supply Board Replacement Date & Time Setting
Required Tools
---
Estimate Time
Approx. 1 min.
Startup Mode
Repair mode
Standard Values
---
Step
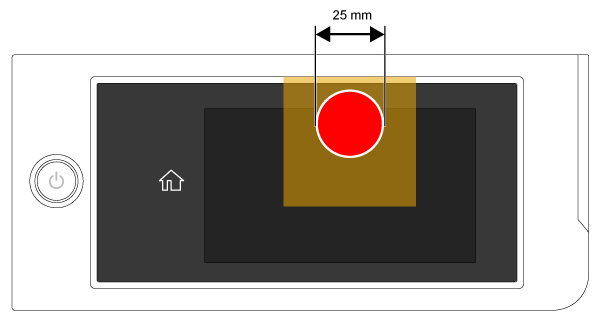
- Start the printer in repair mode. Turn the power on while touching [Screen Center], and keep pressing until the mode select screen is displayed. Touch the center of the panel to start repair mode.
Start the Service Program, and select Power Supply Board Replacement Date & Time Setting.
Click the [Execute] button, and record the replacement history in the printer.