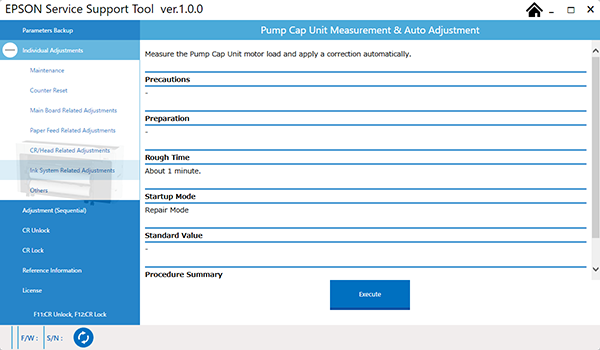
Pump Cap Unit Measurement & Auto Adjustment
Required Tools
---
Estimate Time
Approx. 1 min.
Startup Mode
Repair mode
Standard Values
---
Step
 Caution / 注意 Caution / 注意 |
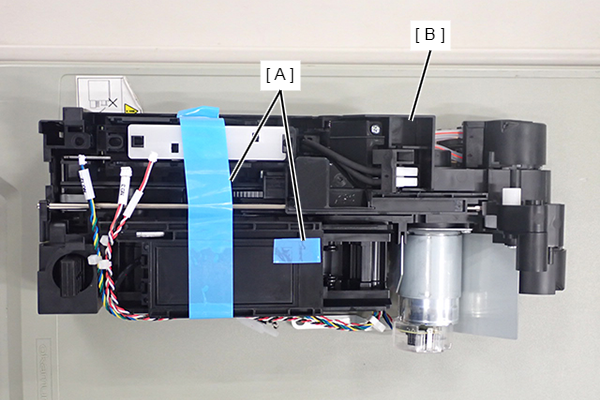
When replacing a new part, there will be tape on the part as shown in the red frame below, so be sure to remove both tapes before installing. Please note that if you forget to remove the tape before installing the pump cap unit, it may result in a failure of the pump cap unit (gear damage without an error being issued, or 00141A (Pump Cap Unit Overload Error)/00141F (Pump Cap Unit Lock Error)).
|
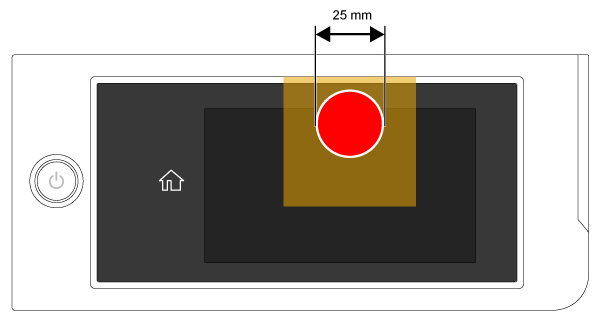
- Turn the power on while touching [Screen Center], and keep pressing until the mode select screen is displayed. Touch the center of the panel to start repair mode.
Start the Service Program, and select Pump Cap Unit Measurement & Auto Adjustment.
Click the [Run] button. This automatically calculates the correction value, and writes this value to the printer.
Caution / 注意Do not touch the printer during adjustment as this may lead to adjustment failing.
If [Failed] is displayed, then perform adjustment again. If this is still unsuccessful then replace the Pump Cap Unit.