Print position offset in CR operation direction
Occurrence condition
- The image is offset in the main scanning direction.
- The left or right edge of the image is cut off.
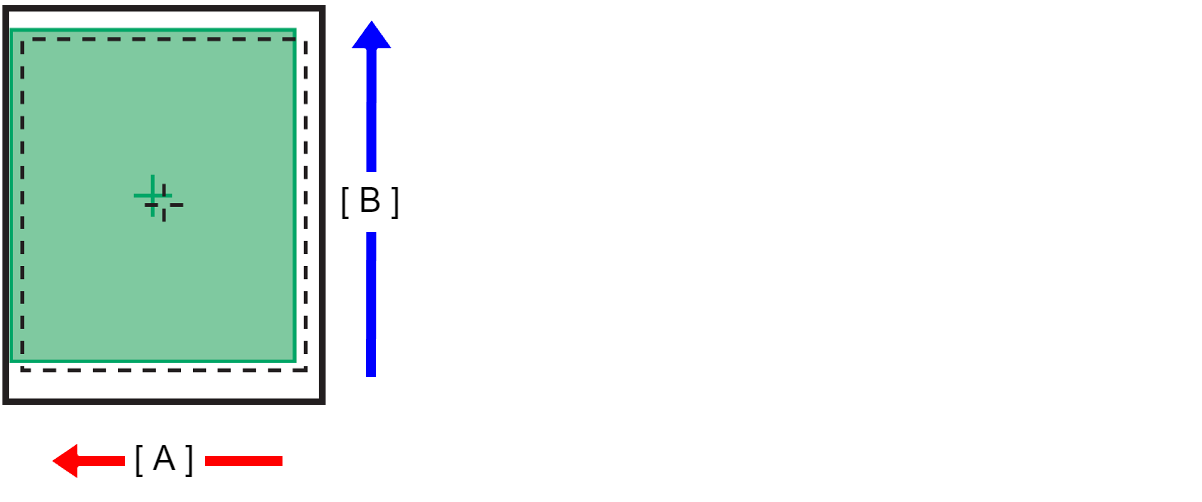
- A: Paper feed direction
- B: Y direction
Suspected cause
- Paper load position offset
- Paper settings of main unit or printer driver settings are inappropriate.
- Print start position process adjustment value deviation
- Paper feeding failure
- PW Sensor is dirty or has deteriorated.
- PW Sensor adjustment value incorrect
- CR Scale dirty, damaged, or defective
Related parts
- CR Unit
- Main Board Assy
Troubleshooting
| Procedure | Check and measure | Yes | No |
|---|---|---|---|
| 1 | Check that the paper size and guide position are appropriate.
| Go to step 2 |
*: When the phenomenon is improved, explain that the phenomenon is caused due to improper paper guide position, and get the paper guide position setting corrected. If the symptom continues to occur, go to step 2. |
| 2 | Check the settings of the main unit/printer driver.
| Go to step 3 |
*: When the phenomenon is improved, explain that the phenomenon is caused due to an erroneous setting, and get the setting corrected. If the symptom continues to occur, go to step 3. |
| 3 | Perform the First dot position / PW adjustment.
| End | Go to step 4 |
| 4 | Check the rollers.
| Go to step 5 | If roller is damaged, replace the rollers listed below.
|
| 5 | Check the CR Scale.
| Go to step 6 |
If the symptom continues to occur, go to step 6. |
| 6 | Replace the CR Unit.
| End | Go to step 7 |
| 7 | Replace the Main board Assy.
| Contact the EPSON Service Department. | End |