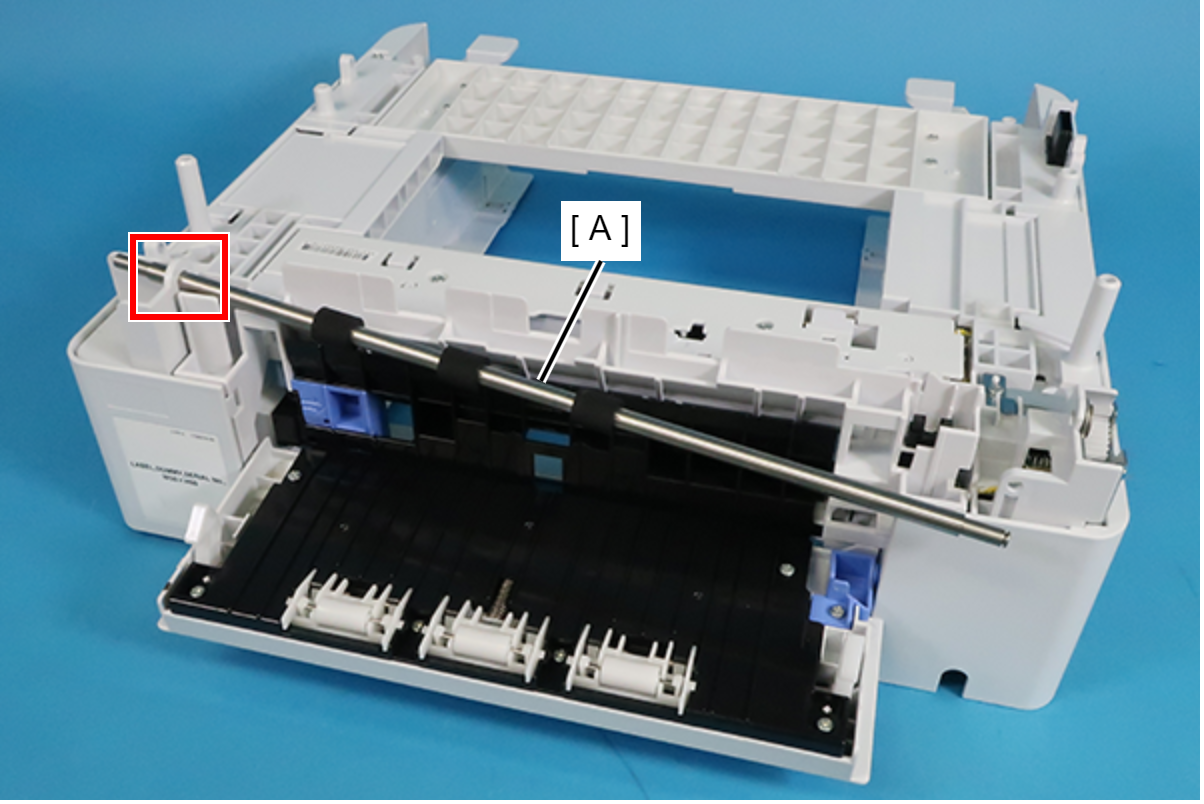
Vertical Feed Roller
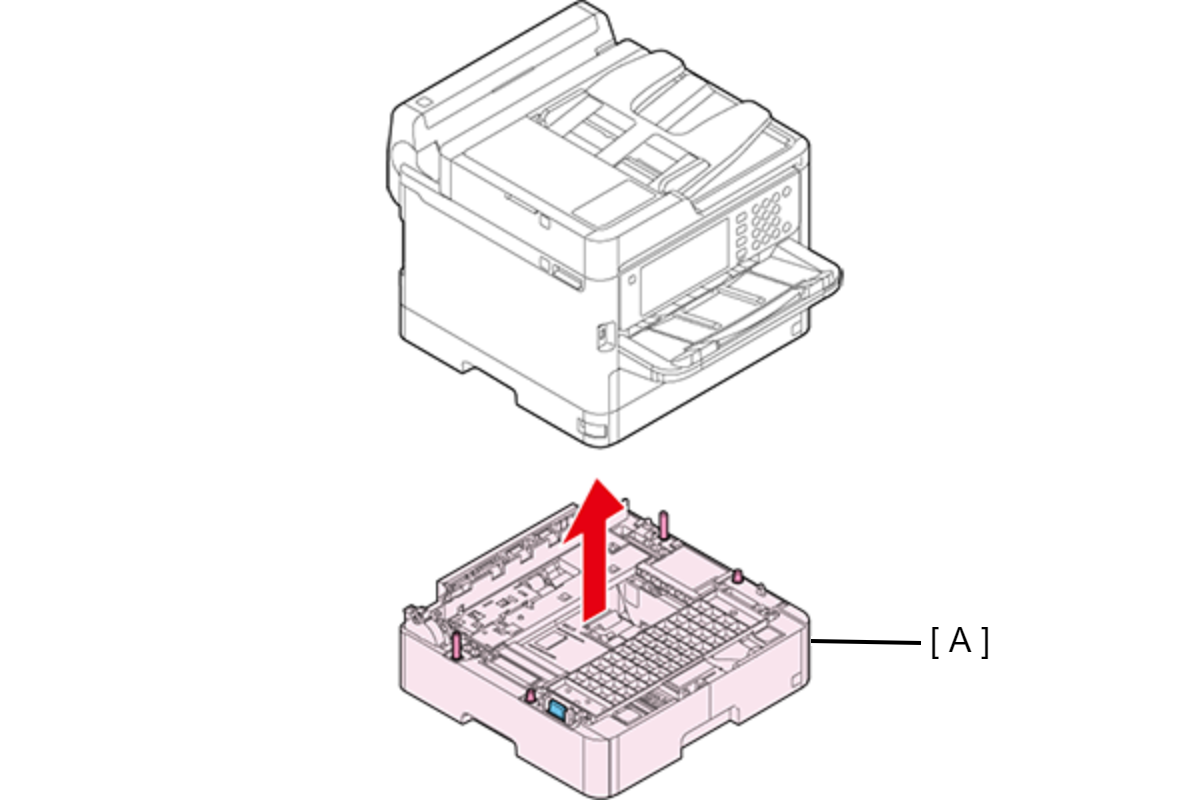
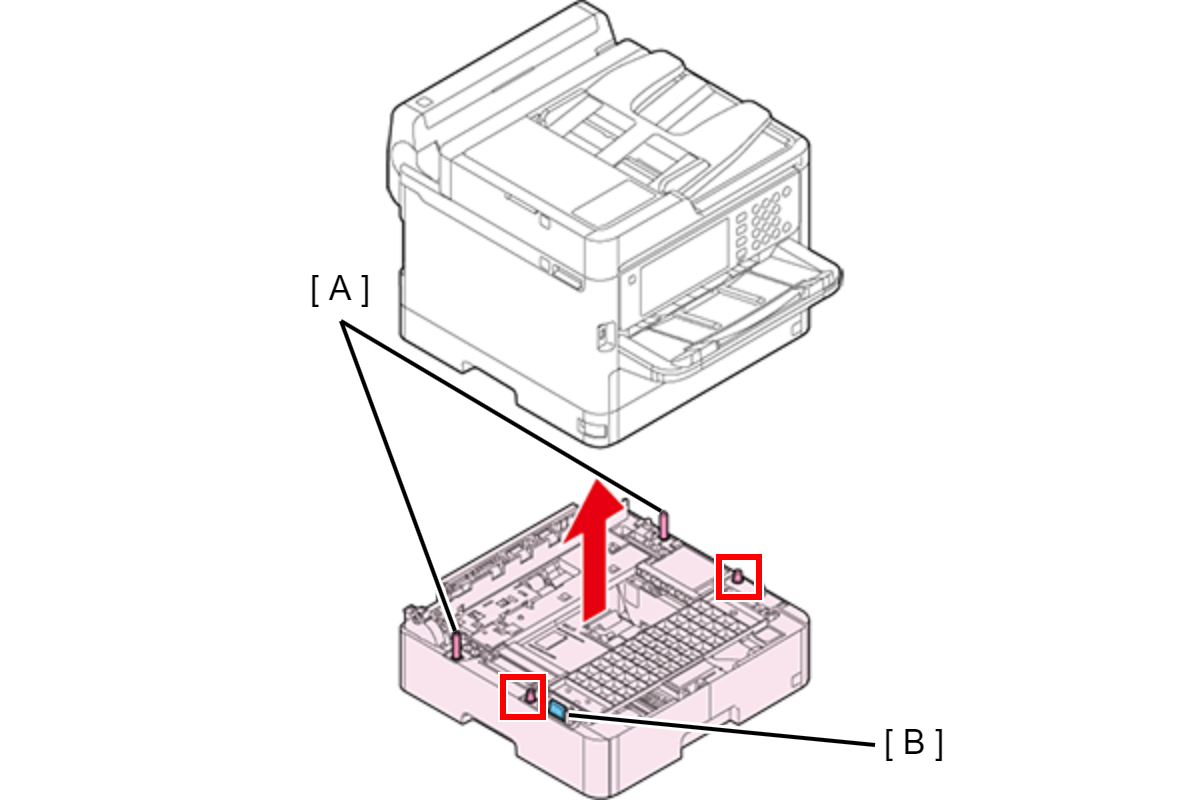
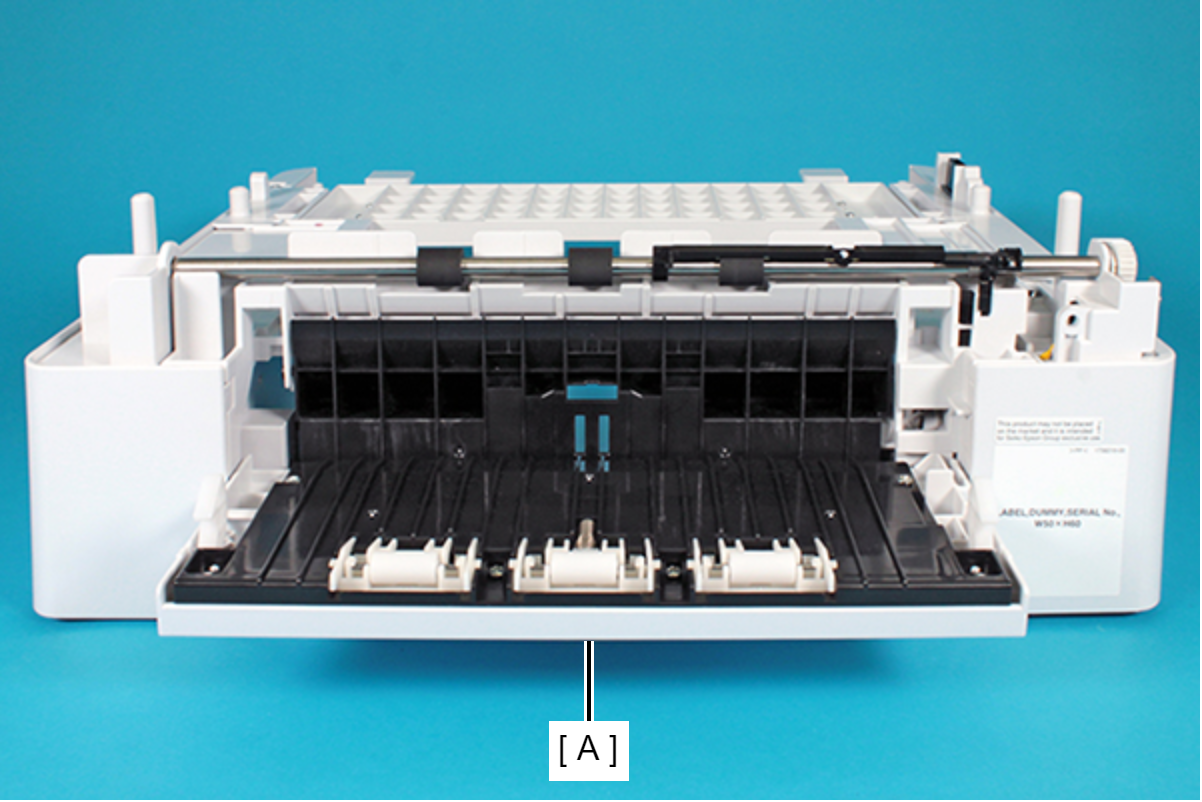
Lift the printer, then remove the Optional Paper Cassette (A).
 Assembly / 組み立て
When attaching the Optional Paper Cassette, be sure to align the two positioning pins (A) and the two dowels so as to avoid damage to the Drawer Connector (B).
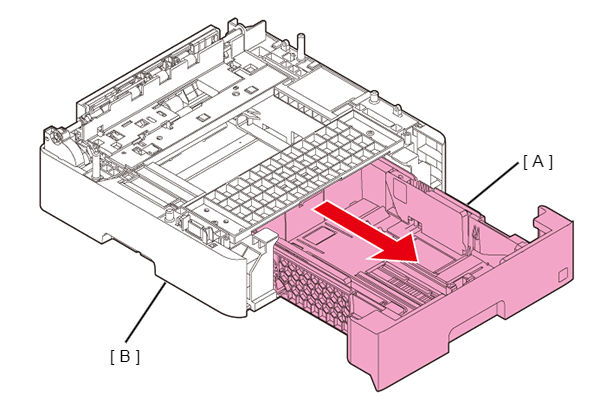
- Pull out the Paper Cassette 2nd Assy (A), then remove the Paper Cassette 2nd Assy (A) from the Optional Paper Cassette (B).
- Open the Optional Paper Cassette Rear Cover (A).
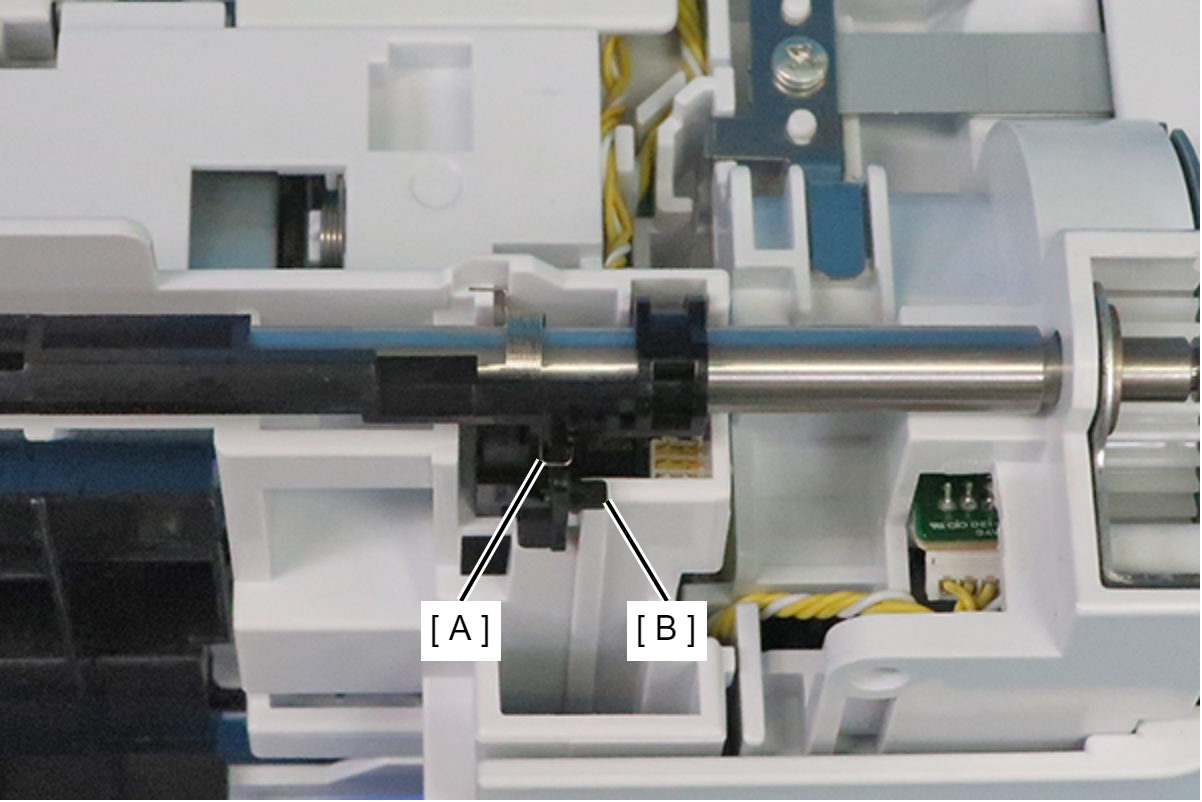
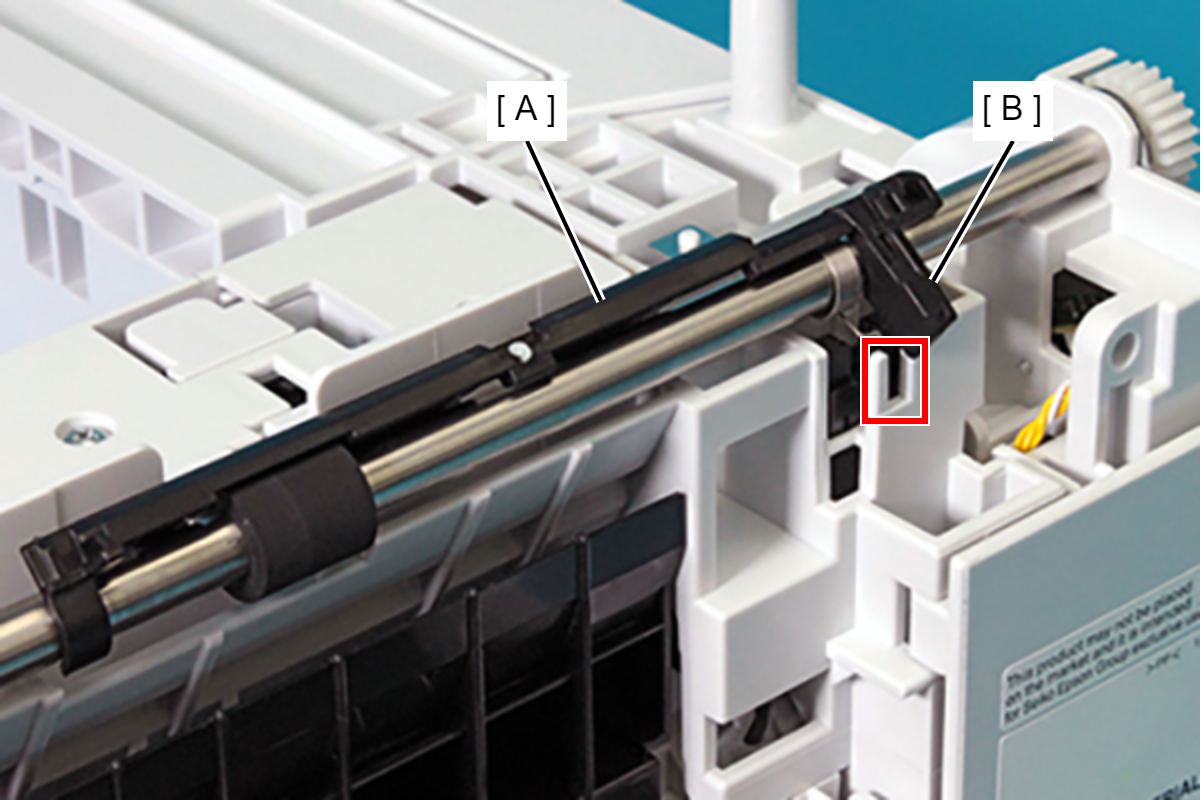
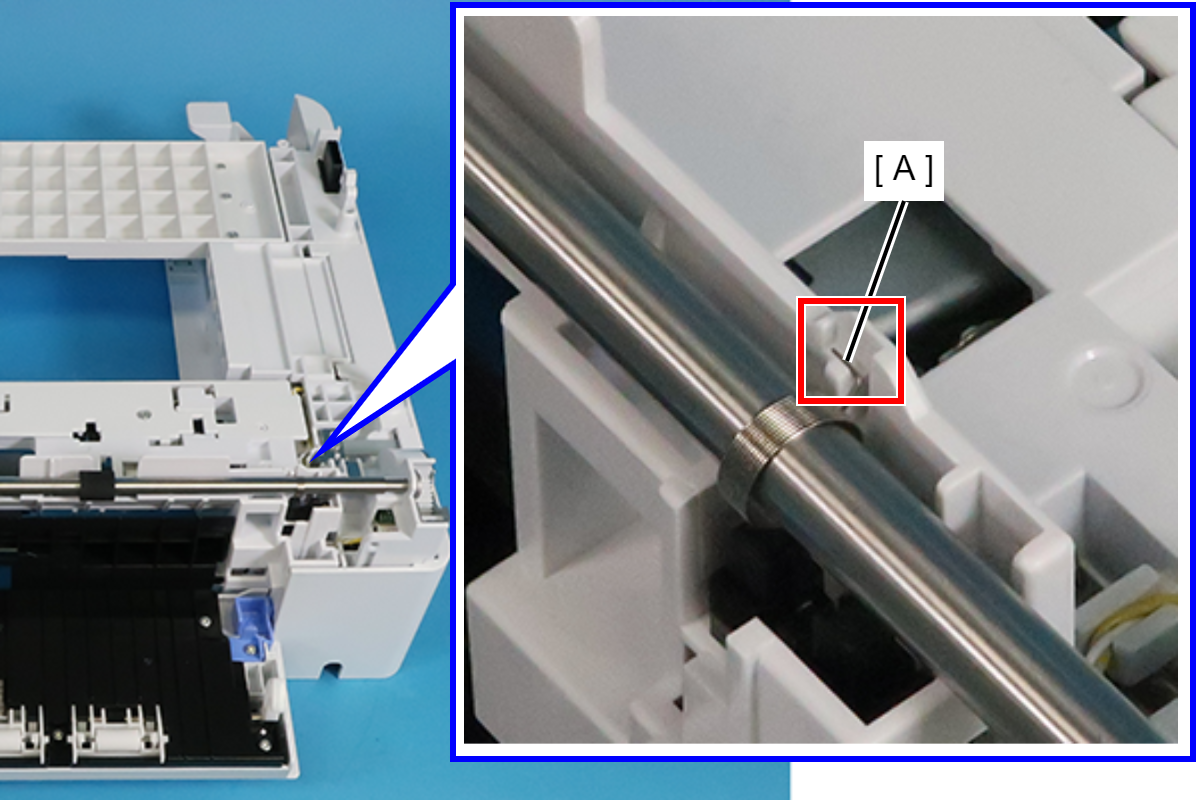
Remove the leg of Torsion Spring 0.9 (A) from the Paper Feed Detector Lever (B).
 Caution / 注意
Since the narrow part of the Paper Feed Detector Lever (A) may be bleached and damaged, remove the Paper Feed Detector Lever (A) by ensuring that it does not get twisted.
With the Paper Feed Detector Lever (A) in the rotated state, remove the Paper Feed Detector Lever (A) from the Vertical Feed Roller (B) in the direction of the arrow.
 Assembly / 組み立て
When attaching the Paper Feed Detector Lever (A), be sure to align the flag section (B) of the Paper Feed Detector Lever (A) with the slit shown in the figure below.
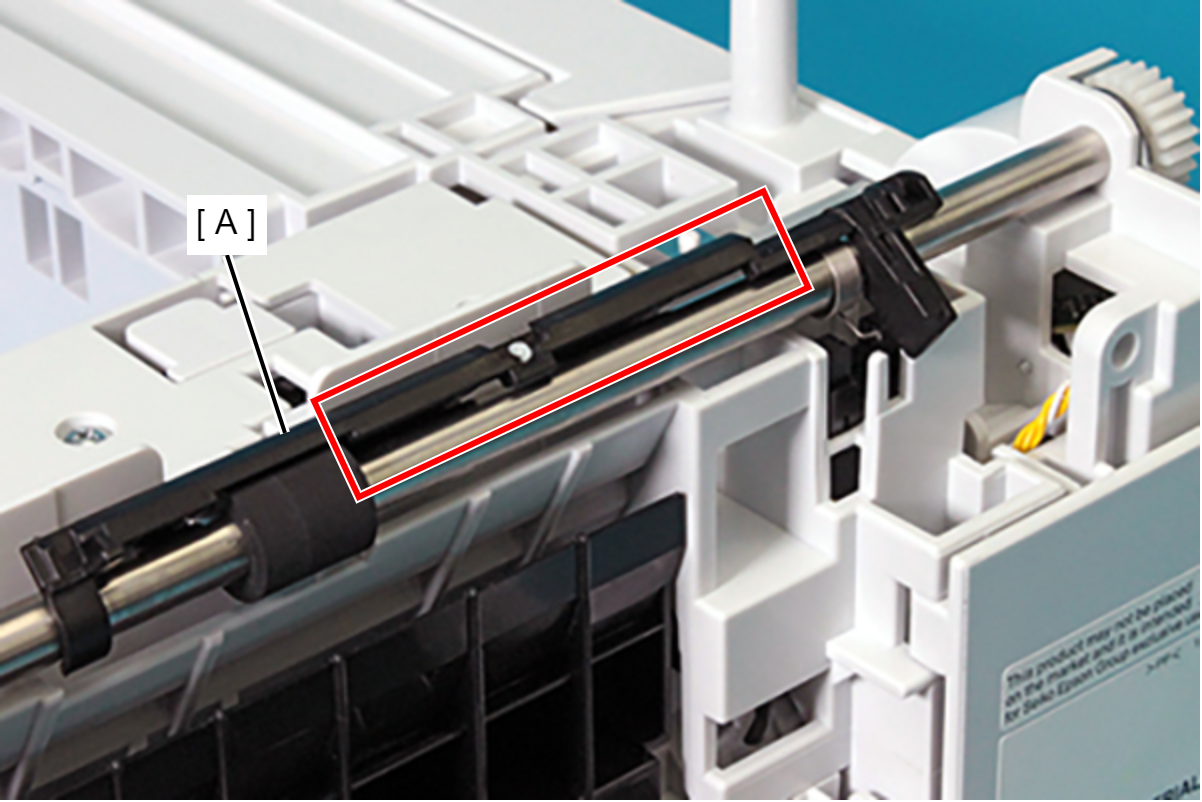
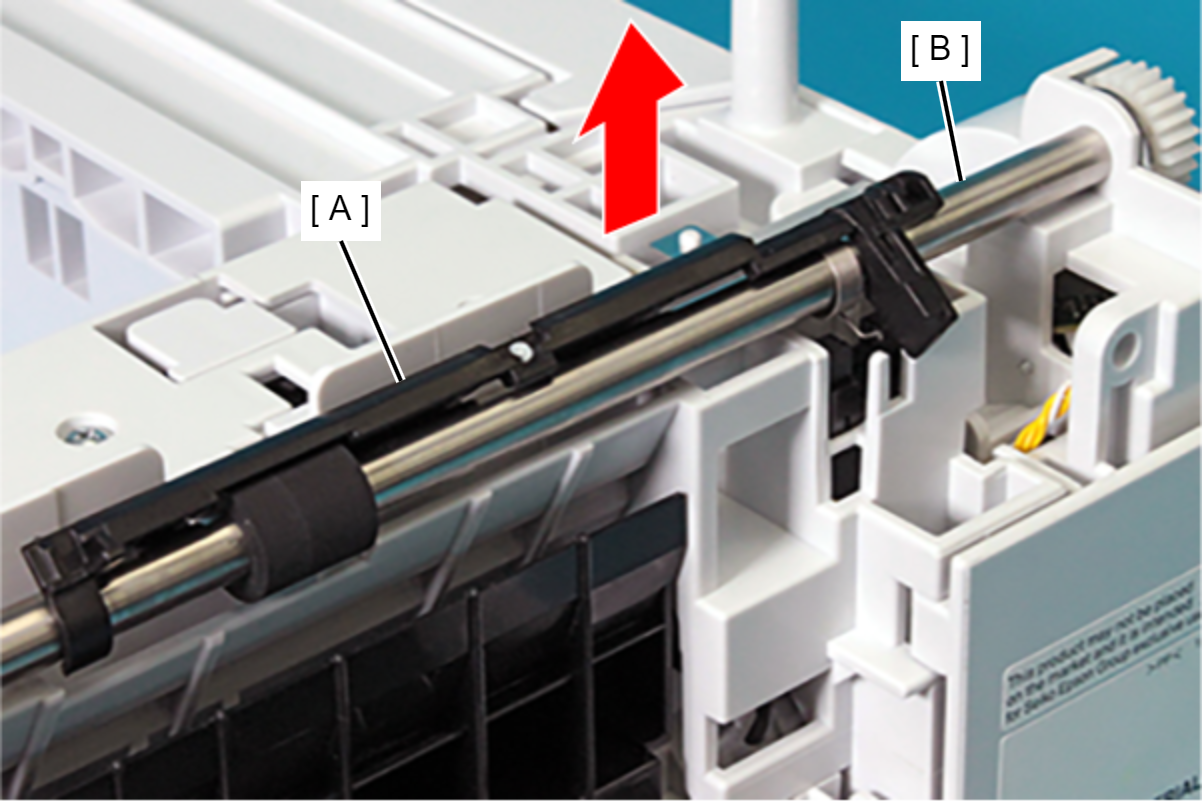
- Remove the E-ring (plastic) (B) from the left side of the Vertical Feed Roller (A).
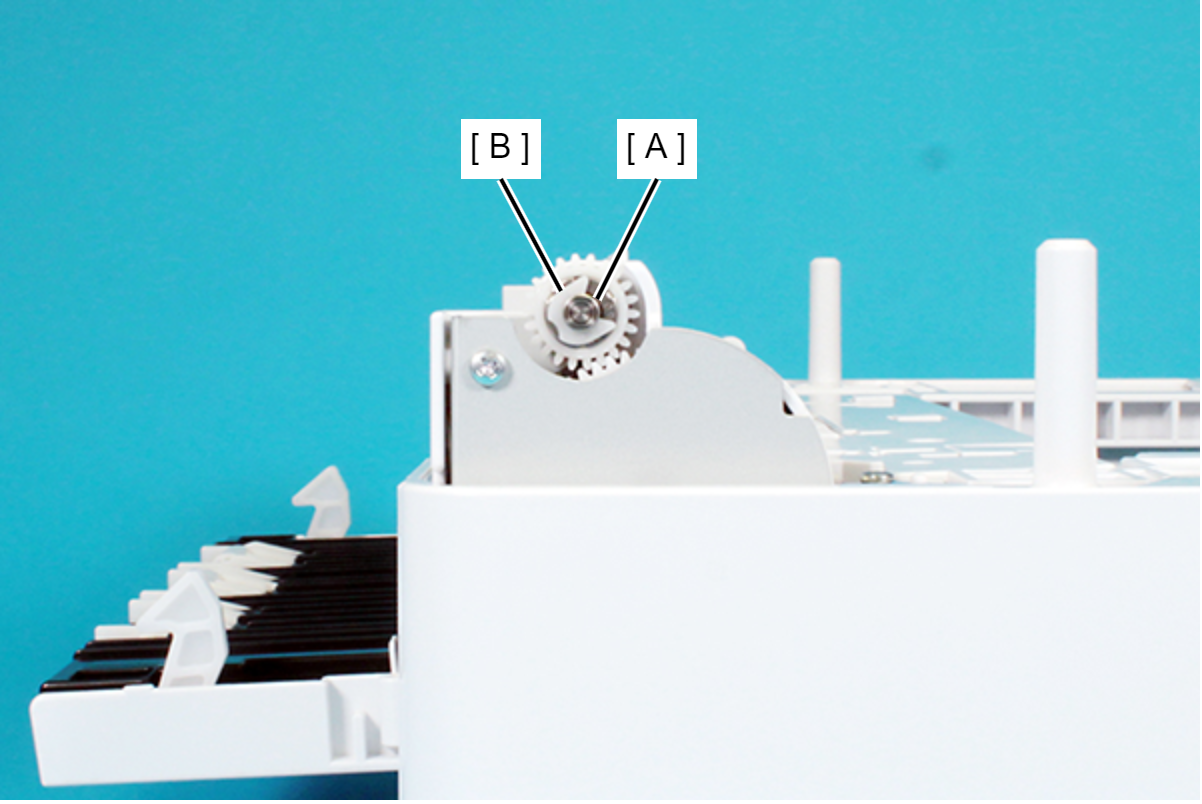
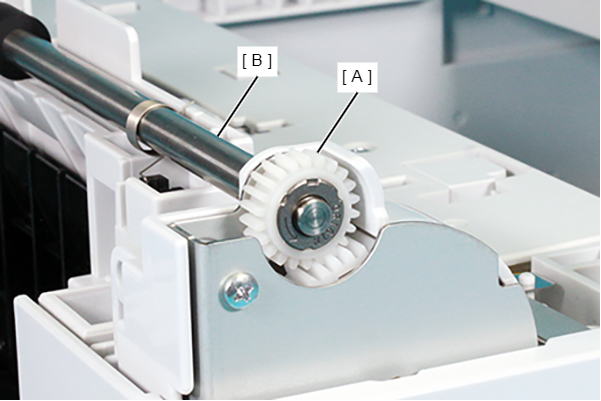
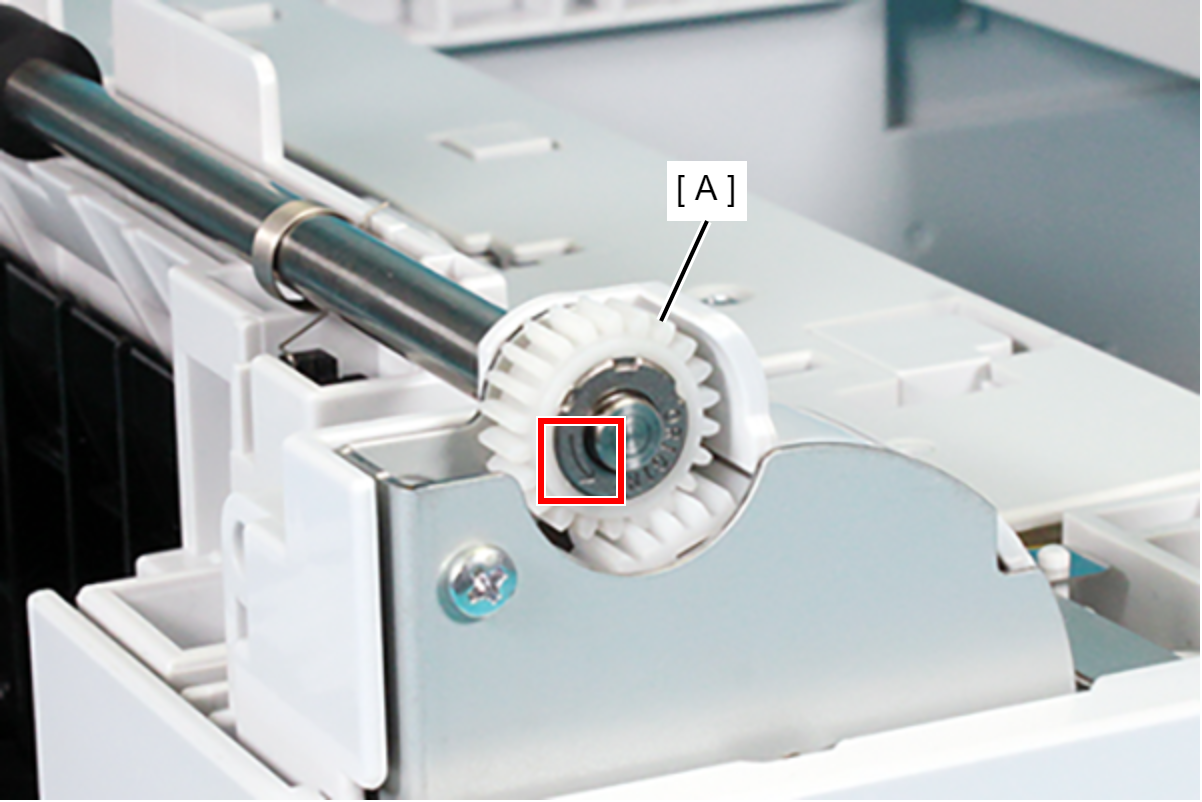
Remove the One-way Gear (A) from the Vertical Feed Roller (B).
 Assembly / 組み立て
When attaching the One-way Gear (A), make sure the arrow mark is facing outside as shown in the figure below.
- Release the leg (A) of the Torsion Spring 0.9 from the hook on the frame.
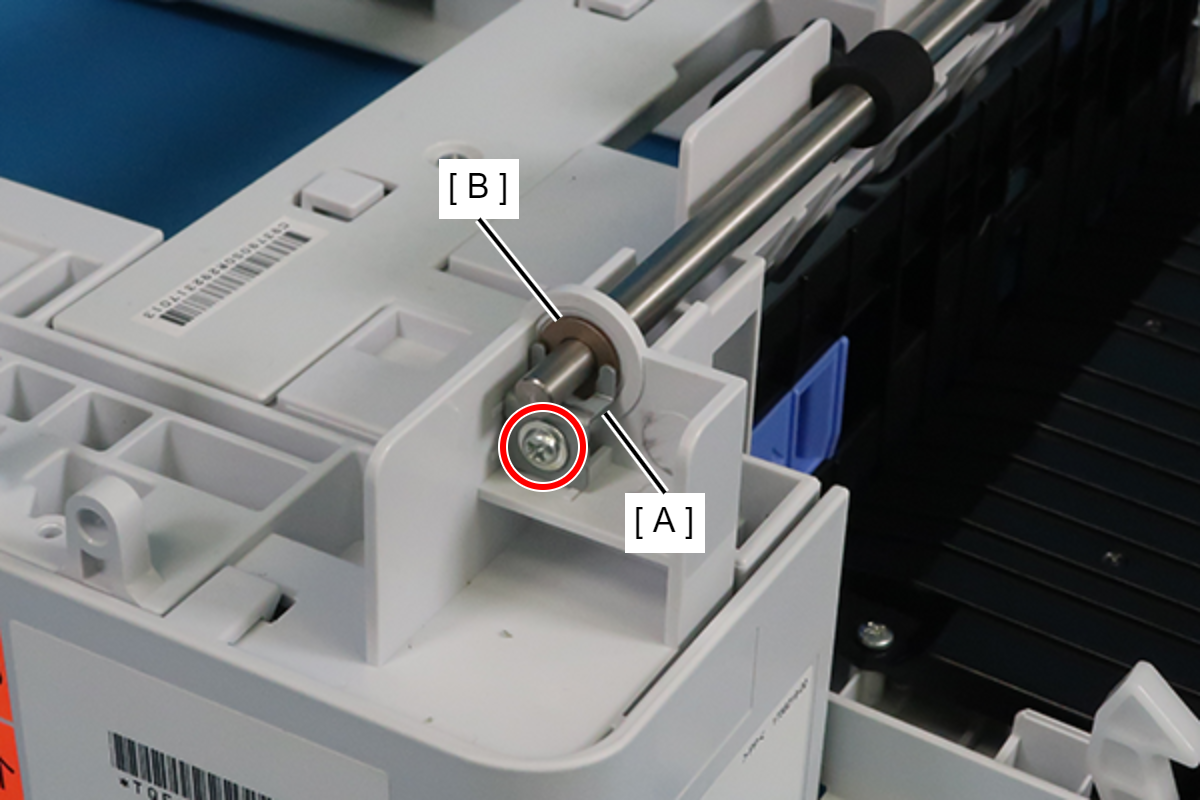
- Remove the screw and then remove the plate (A) and bearing (B).
 : C.C.P-TITE-SCREW-3x8-F.ZN-3C
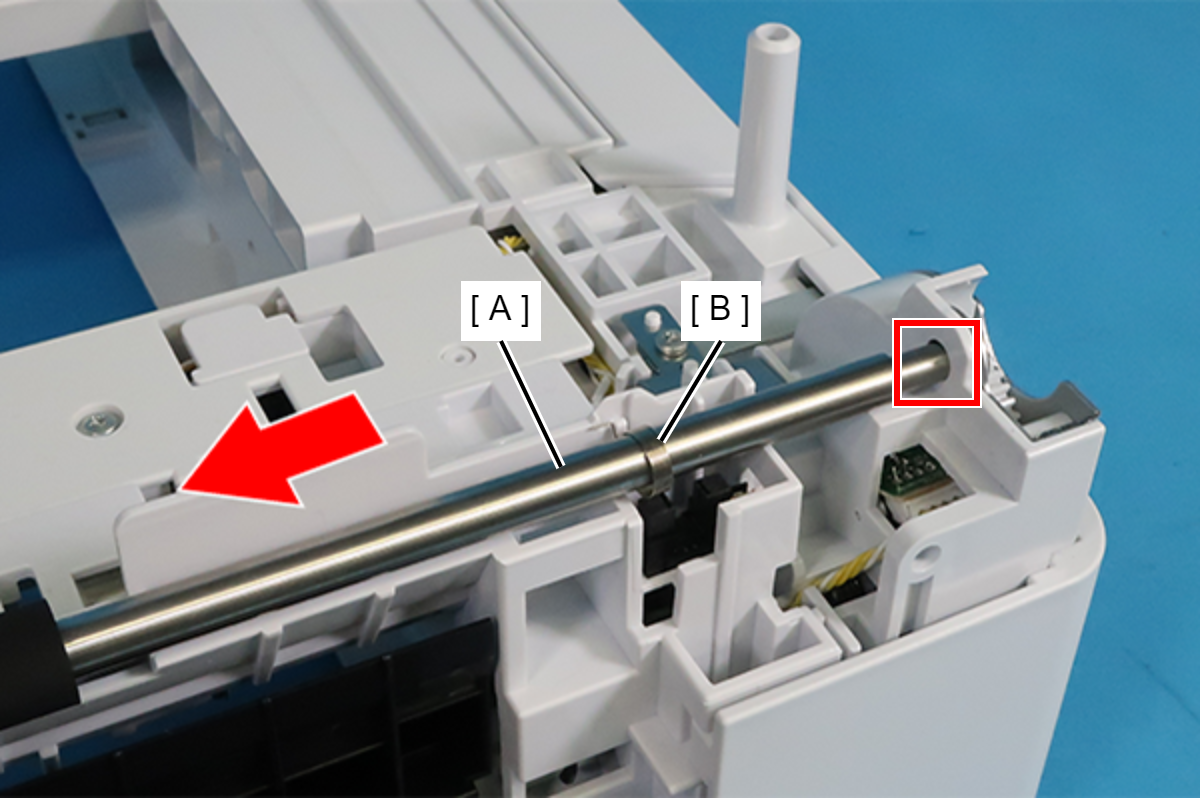
- Pull the Vertical Feed Roller (A) in the direction of the arrow to pull it out from the hole in the frame, and remove the Torsion Spring 0.9 (B).
- Remove the Vertical Feed Roller (A) from the hole of the frame, then remove it.