Print smudges
Occurrence condition
Unexpected smudges can be seen somewhere (including back side) on printouts.
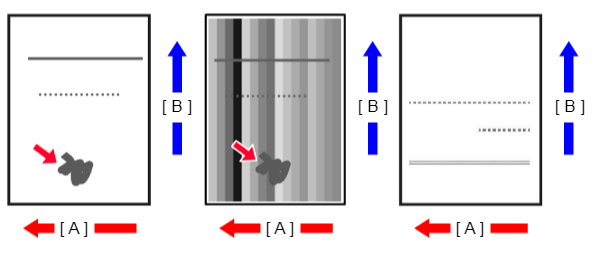
A: Paper feed direction
B: Y direction
Suspected cause
- Contamination of Scanner Glass
- Contamination of Glass for ADF scanning
- Curling/waviness of the paper used
- Dirt transferred or foreign objects attached from feed path
- Dirt transferred or foreign objects attached from the printhead
- Dirt transferred from the CR Unit
Related parts
- Platen
- Roller
- Ink System Unit
- CR Unit
- Printhead
- Printer Mechanism
Troubleshooting
| Procedure | Check and measure | Yes | No | ||||||||||
|---|---|---|---|---|---|---|---|---|---|---|---|---|---|
| 1 | Check whether printing or copying
| Occurs with printing and copying. Go to step 2 |
| ||||||||||
| 2 | Confirm the contamination adherence.
Are the check results OK (no dirt)? | Go to step 3 |
If the symptom continues to occur, go to step 3. | ||||||||||
| 3 | Check the paper and settings
Are the paper status and paper settings appropriate? | Go to step 4 |
When the phenomenon is improved, explain that the phenomenon is caused due to the paper or settings, and make sure the appropriate paper and paper settings are used. Also, recommend the user to use the wear (rubbing) prevention mode. If the symptom continues to occur, go to step 4. | ||||||||||
| 4 | Visually check the Inksystem Assy.
Is the Inksystem Unit normal? | Go to step 5 |
If the symptom continues to occur, go to step 5. | ||||||||||
| 5 | Check the PG | Go to step 6 |
If the symptom continues to occur, go to step 6. | ||||||||||
| 6 | Check the nozzle surface of the Printhead. | Go to step 7 |
If the symptom continues to occur, go to step 7. | ||||||||||
| 7 | Check around the CR Unit | Replace the Printer Mechanism. |
If the symptom continues to occur, go to step 8. | ||||||||||
| 8 | Replace the Printer Mechanism. Does the error occur after replacing the Printer Mechanism? | Contact the EPSON Service Department. | End |

