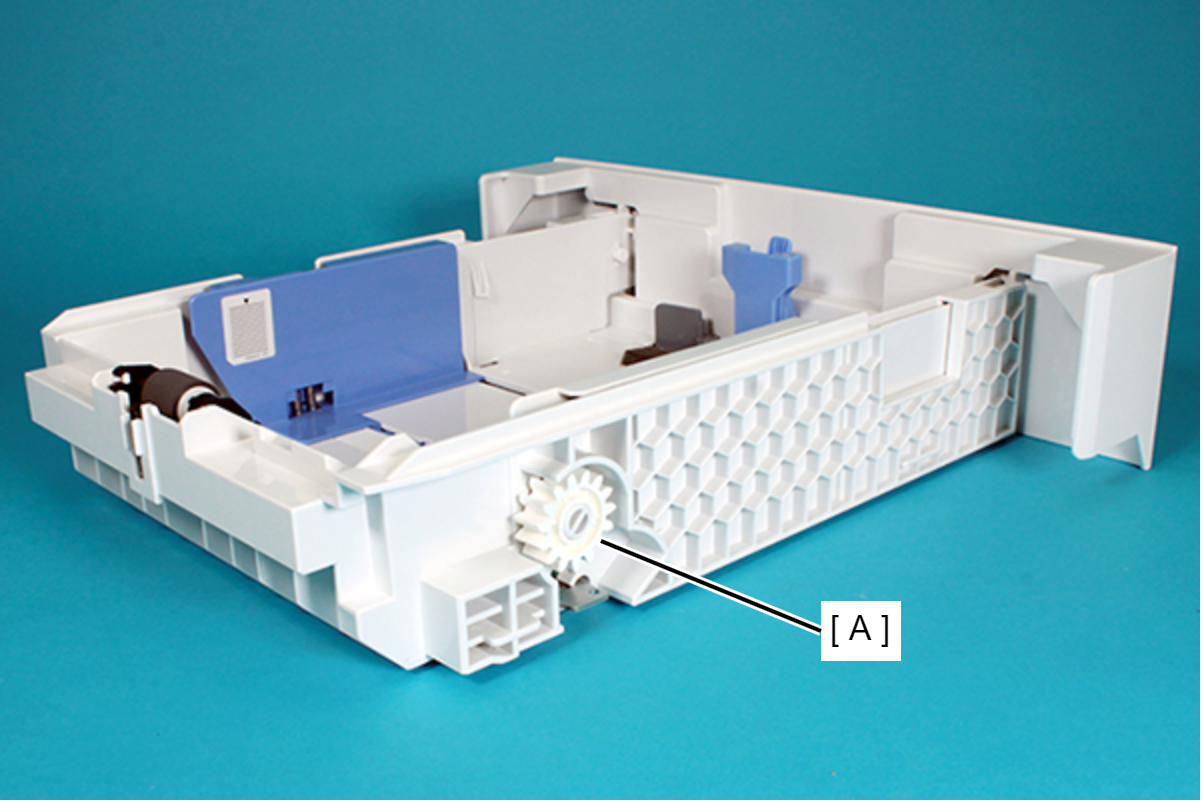
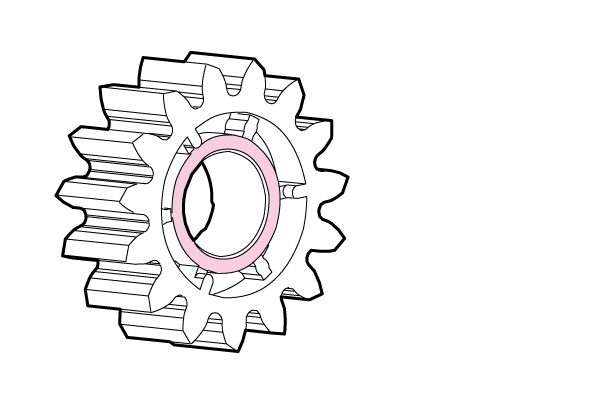
Lift Up Gear 30T
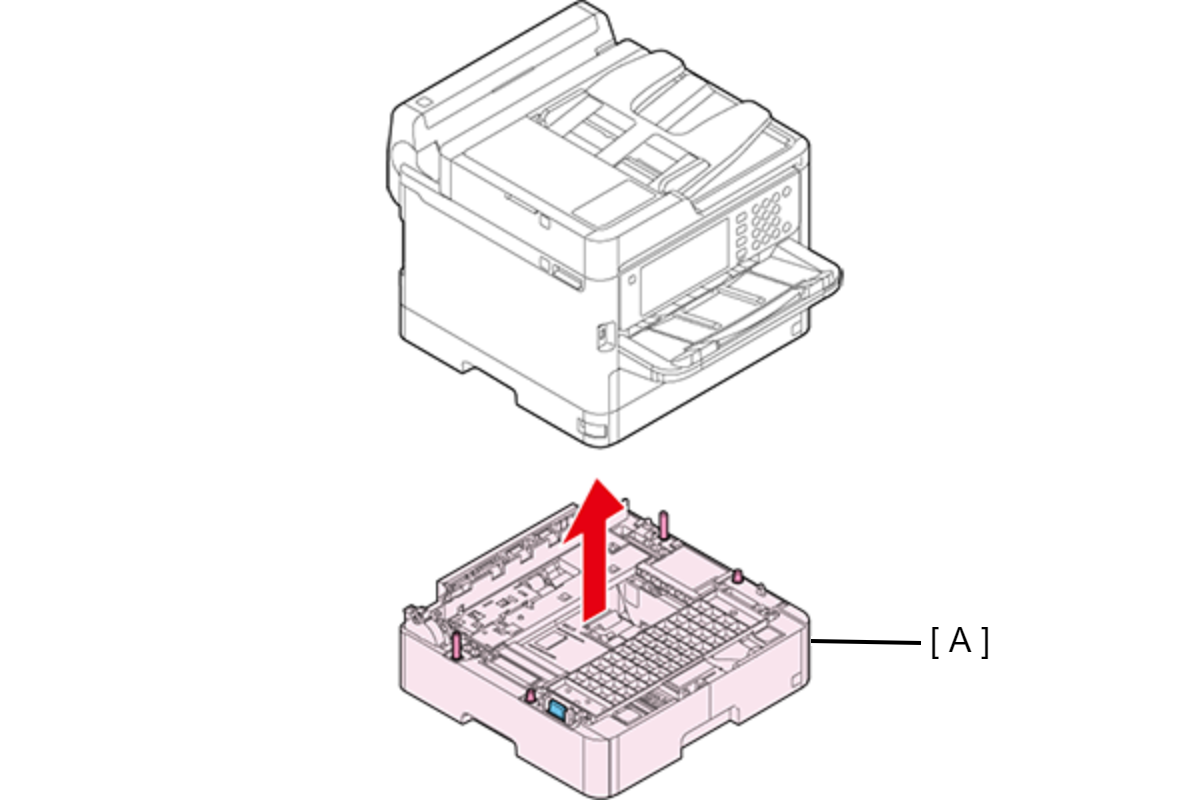
Lift the printer, then remove the Optional Paper Cassette (A).
 Assembly / 組み立て
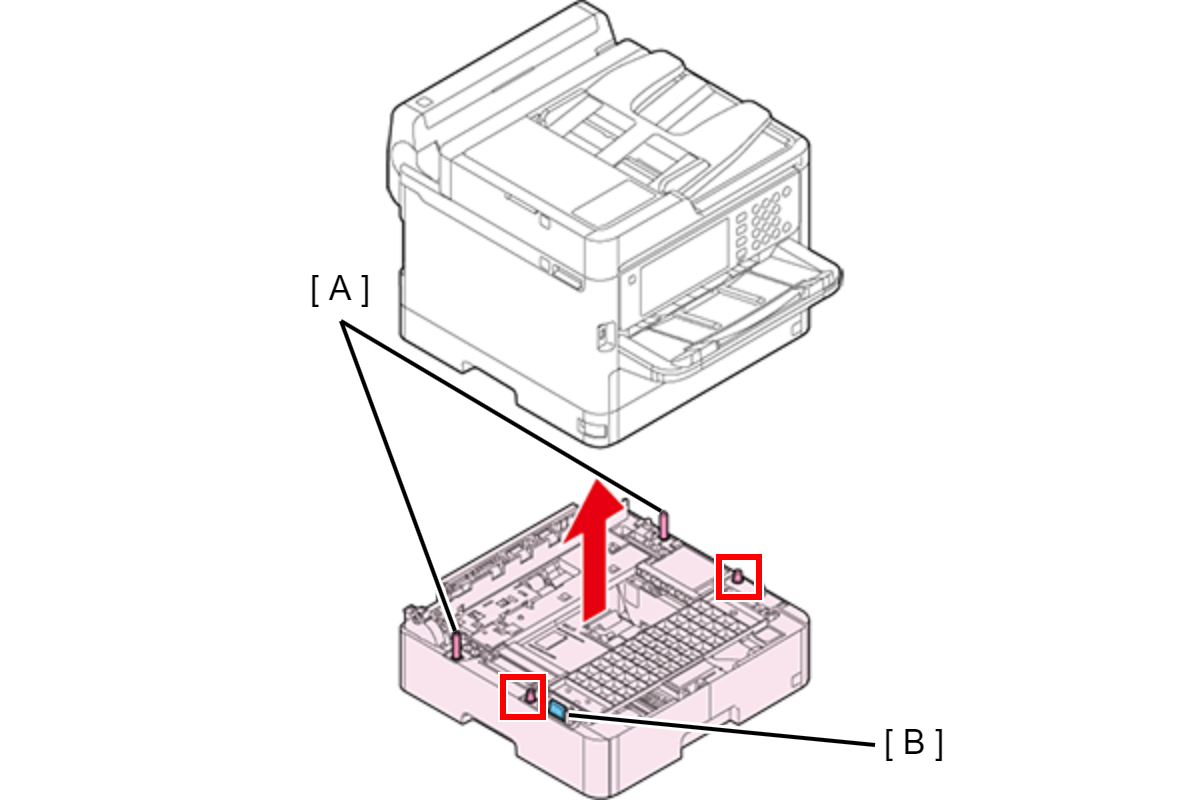
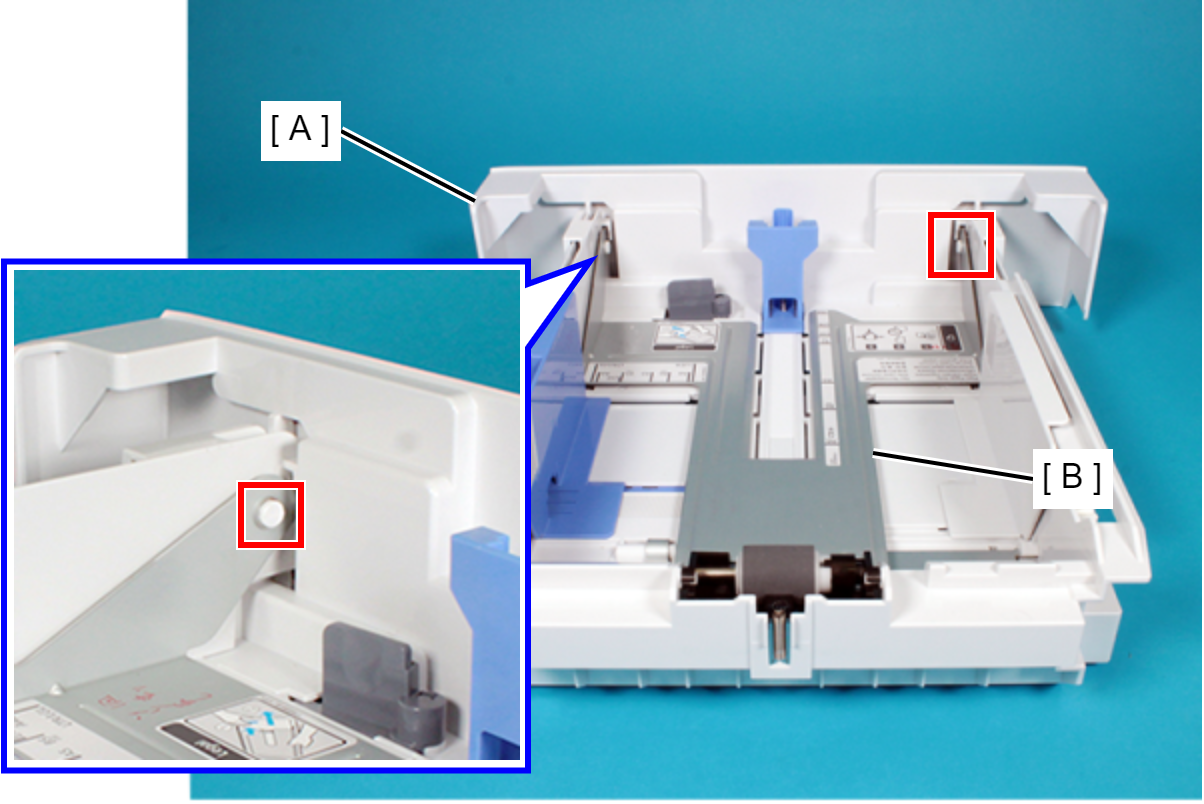
When attaching the Optional Paper Cassette, be sure to align the two positioning pins (A) and the two dowels so as to avoid damage to the Drawer Connector (B).
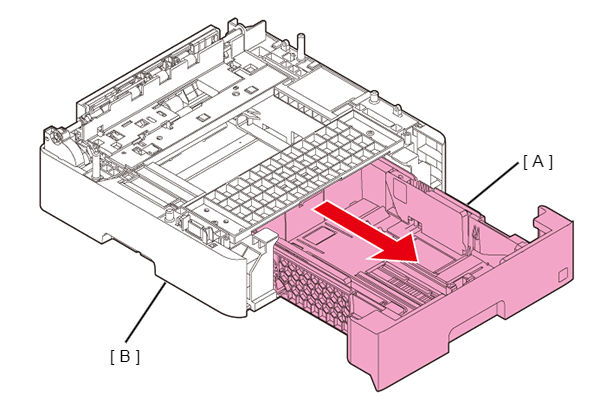
- Pull out the Paper Cassette 2nd Assy (A), then remove the Paper Cassette 2nd Assy (A) from the Optional Paper Cassette (B).
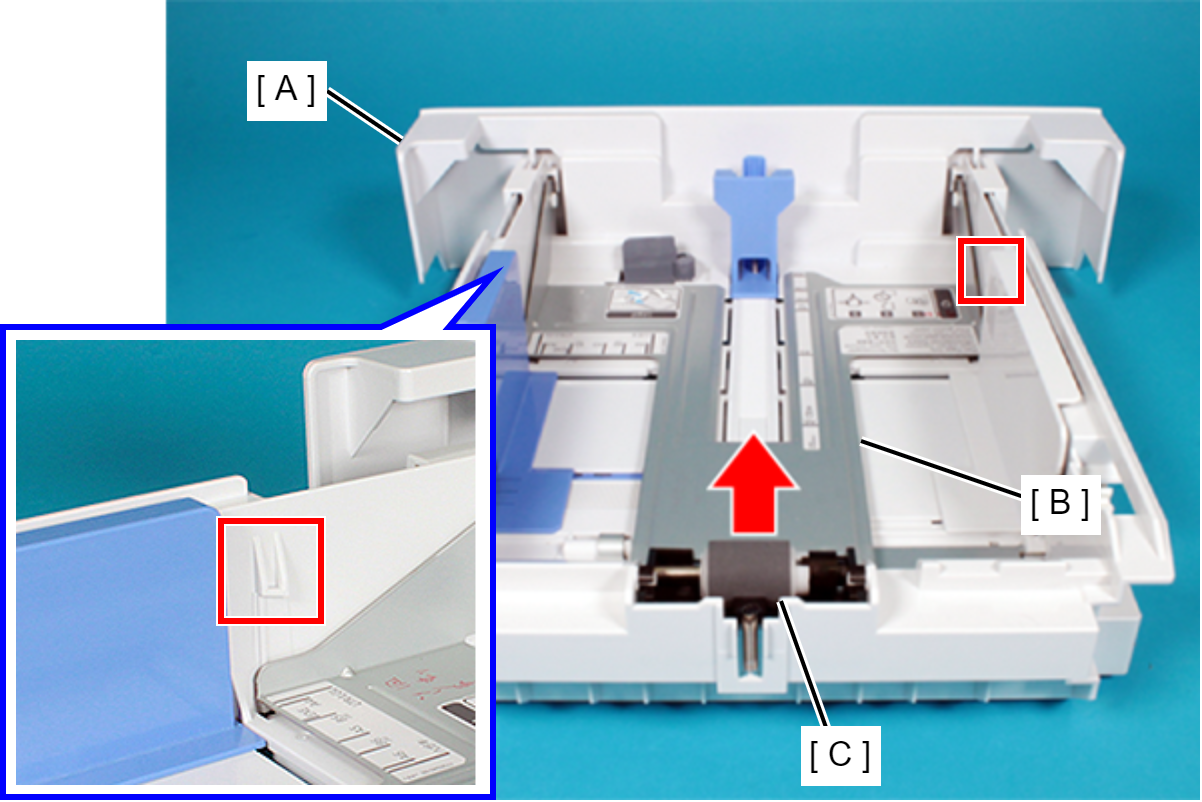
- Lift up the Retard Roller (C) side of the Hopper (B) while extending the Paper Cassette 2nd Assy (A) toward the outside, and then remove the Hopper (B) from the two ribs of the Paper Cassette 2nd Assy (A).
- Release the Hopper (B) from two dowels on the Paper Cassette 2nd Assy (A), then remove the Hopper (B).
- Remove the screw securing the Lift Up Sector Gear 40T on the bottom of the cassette.
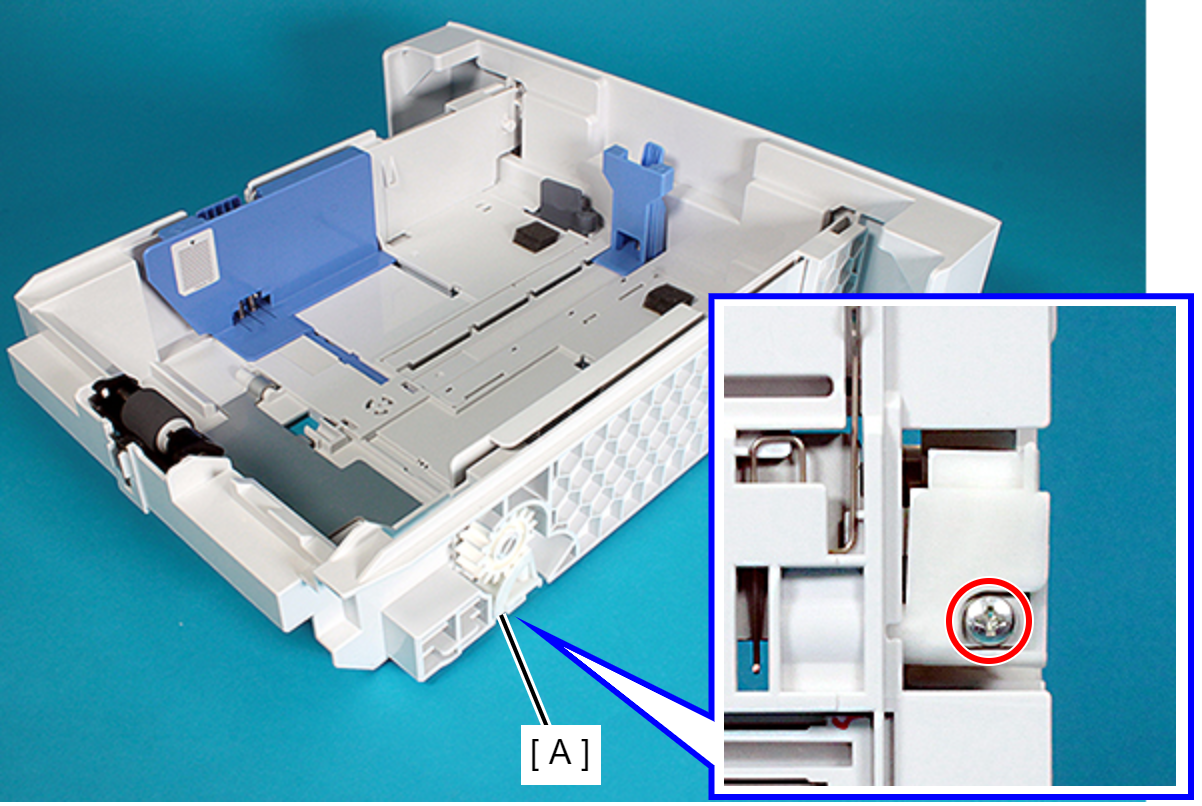
 : C.B.P-TITE-SCREW-3x10-F.ZN-3C
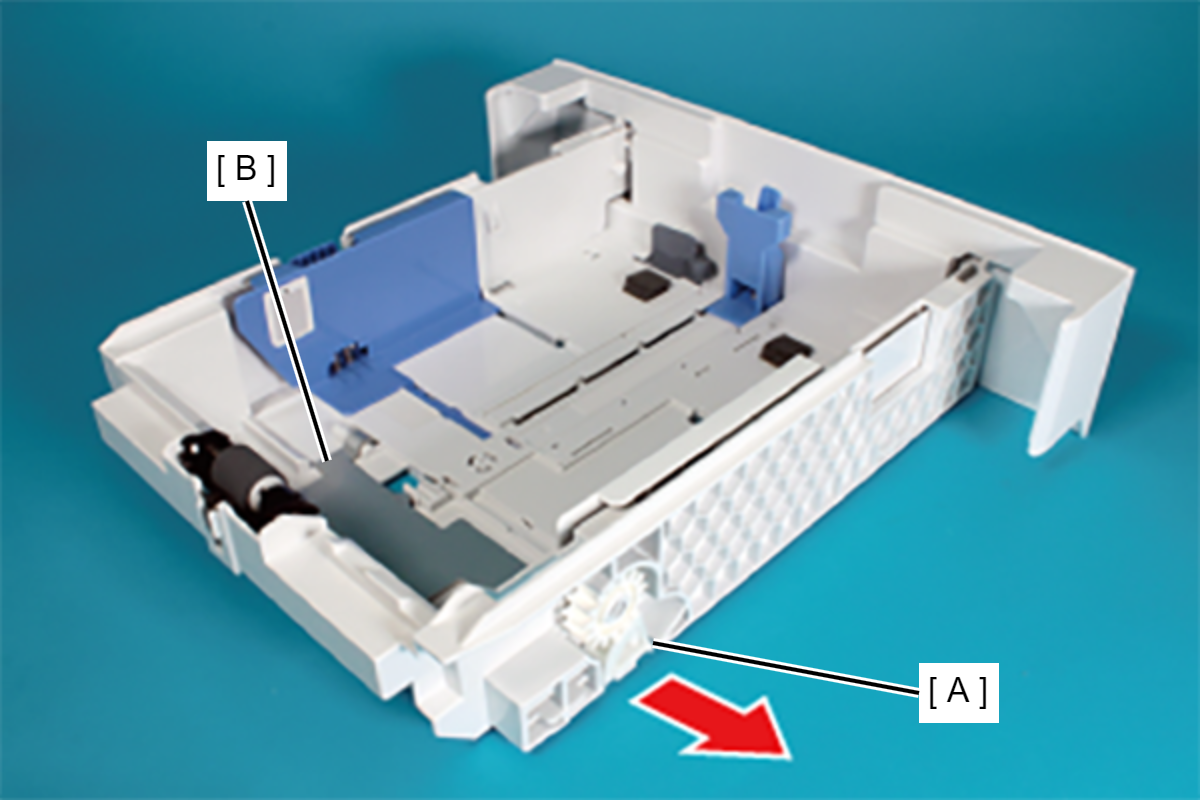
- Pull the Lift Up Sector Gear 40T (A) in the direction of the arrow, then remove the Lift Up Sector Gear 40T (A) from the OPT Lift Plate (B).
Remove the Lift Up Gear 30T (A).
 Assembly / 組み立て
Attach the Lift Up Gear 30T by facing the B side shown in the figure below toward the outside.
- A side
- B side
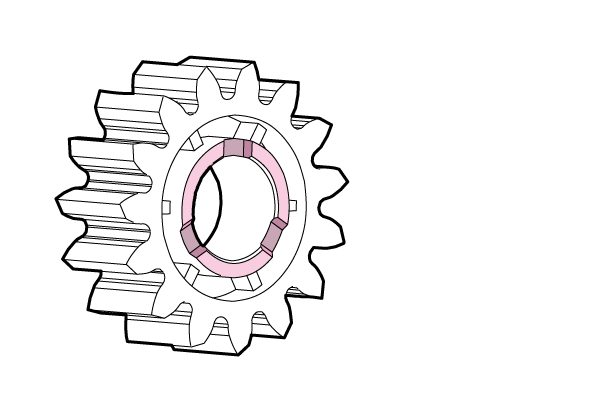
- A side