Optional Paper Cassette Rear Cover
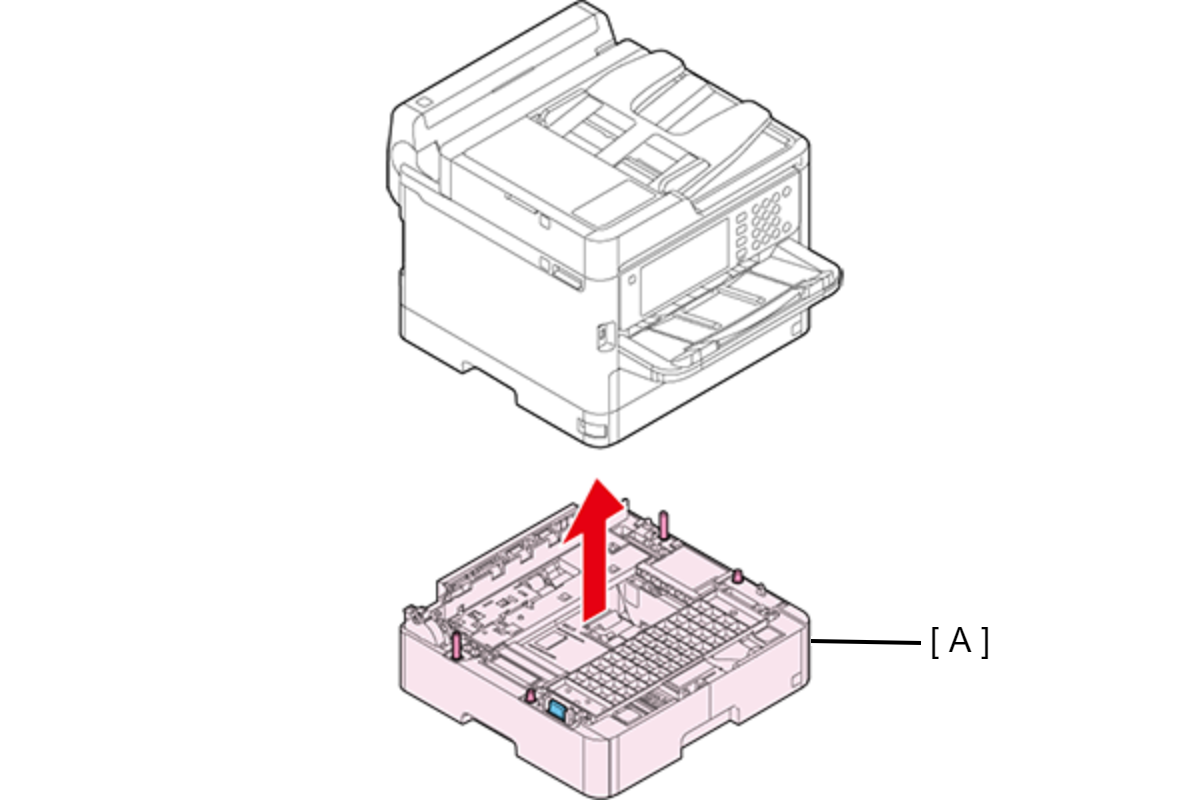
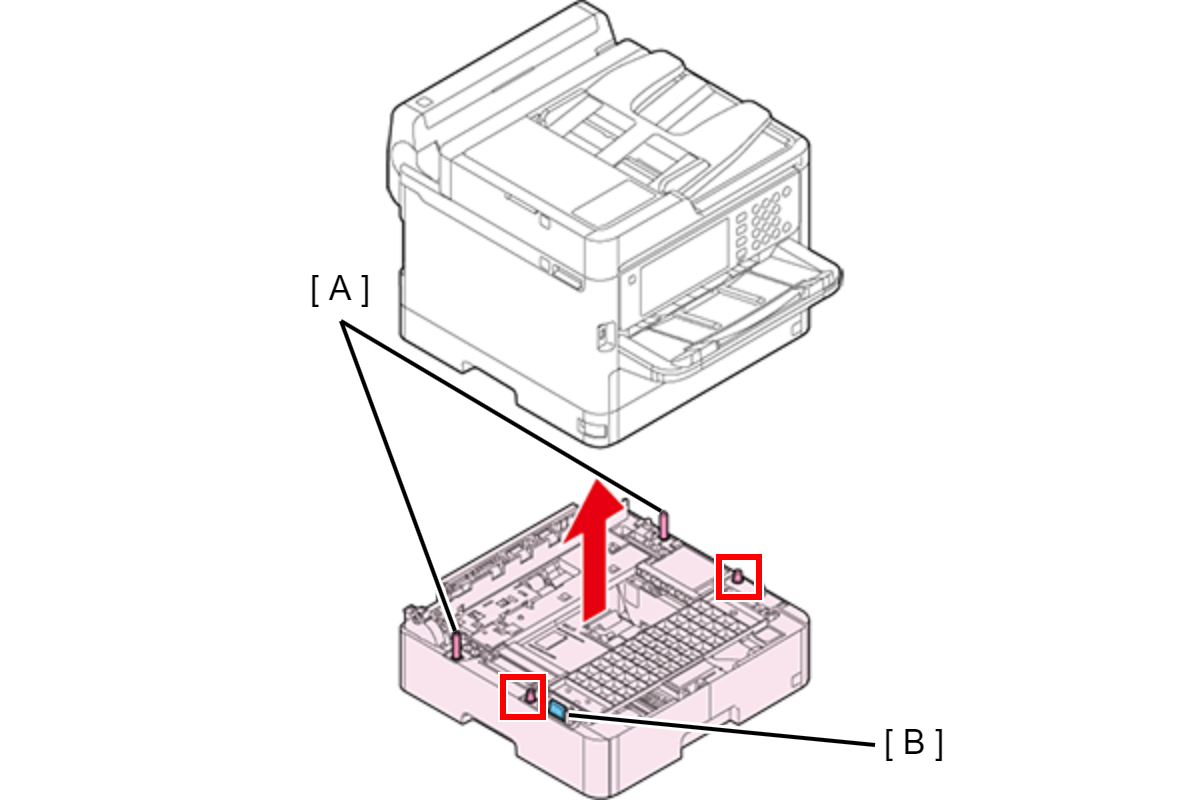
Lift the printer, then remove the Optional Paper Cassette (A).
 Assembly / 組み立て
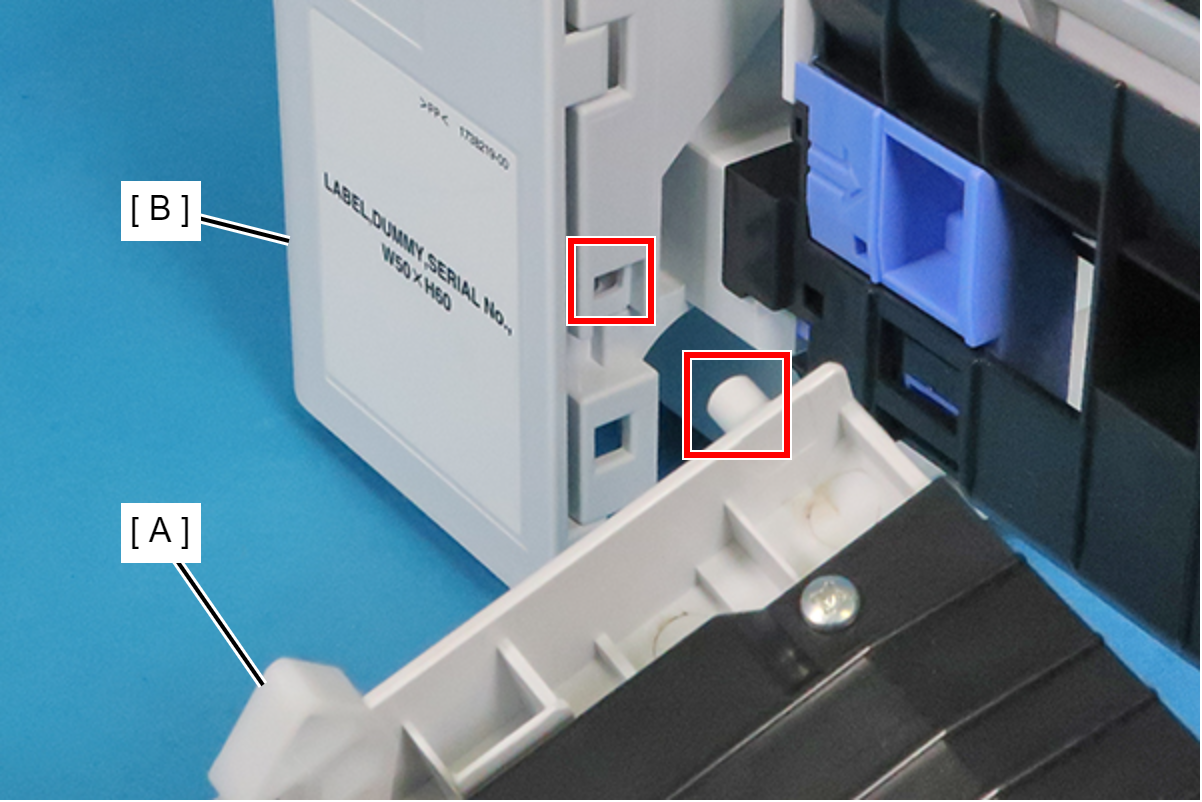
When attaching the Optional Paper Cassette, be sure to align the two positioning pins (A) and the two dowels so as to avoid damage to the Drawer Connector (B).
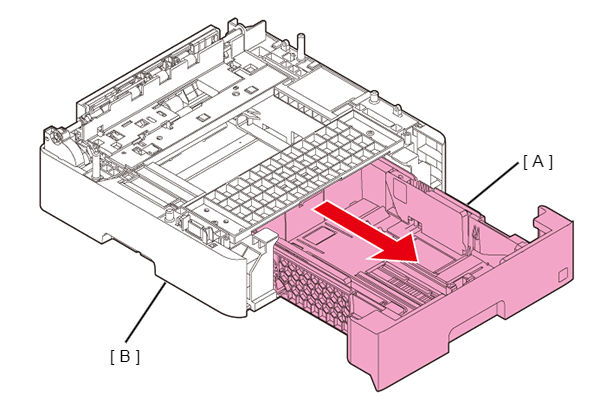
- Pull out the Paper Cassette 2nd Assy (A), then remove the Paper Cassette 2nd Assy (A) from the Optional Paper Cassette (B).
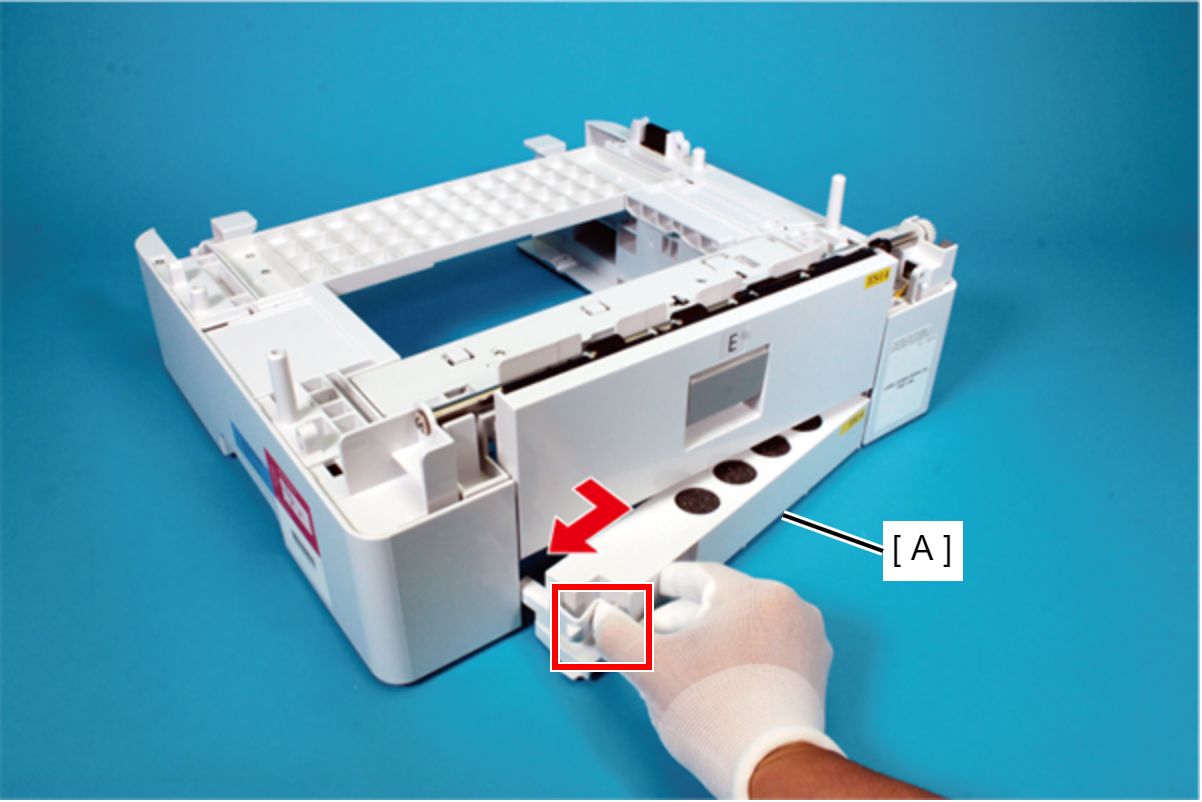
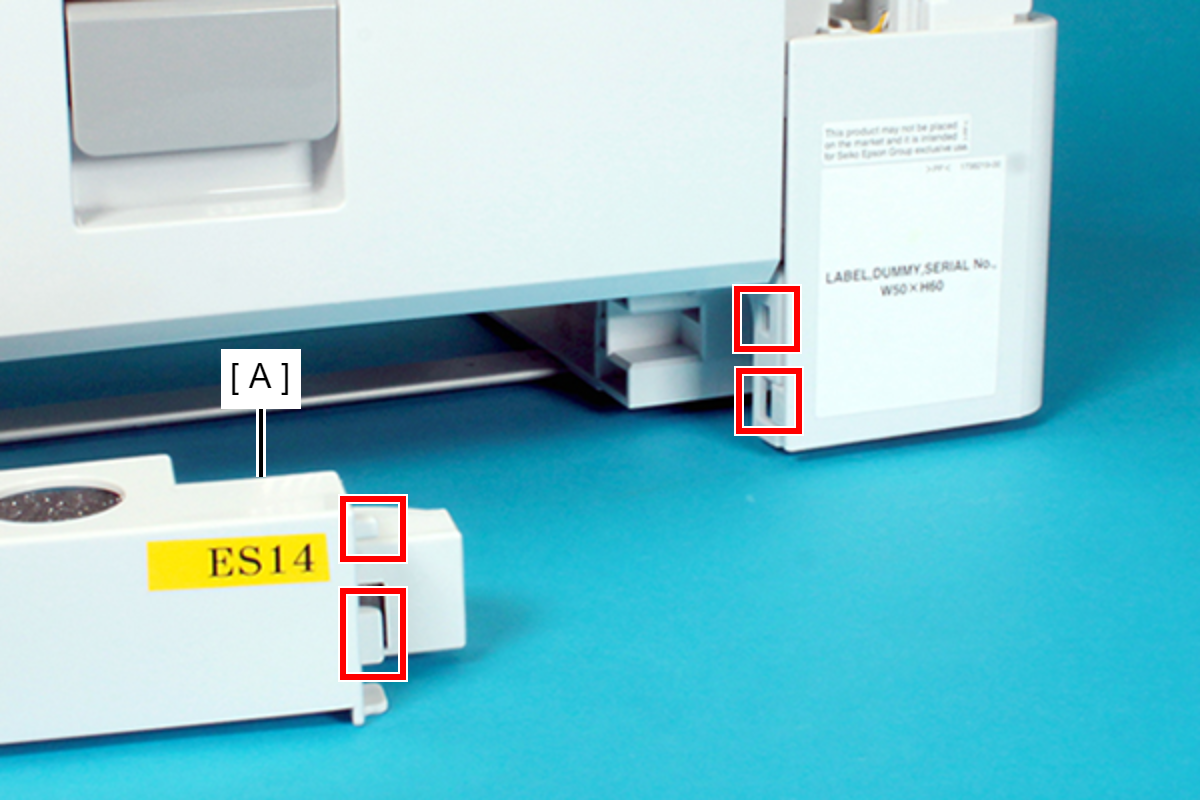
Pick the tab, and remove the Rear Lower Cover Assy (A) in the direction of the arrow.
 Assembly / 組み立て
When installing the Rear Lower Cover Assy (A), attach the two ribs of the Rear Lower Cover Assy (A) to the holes of the frame.
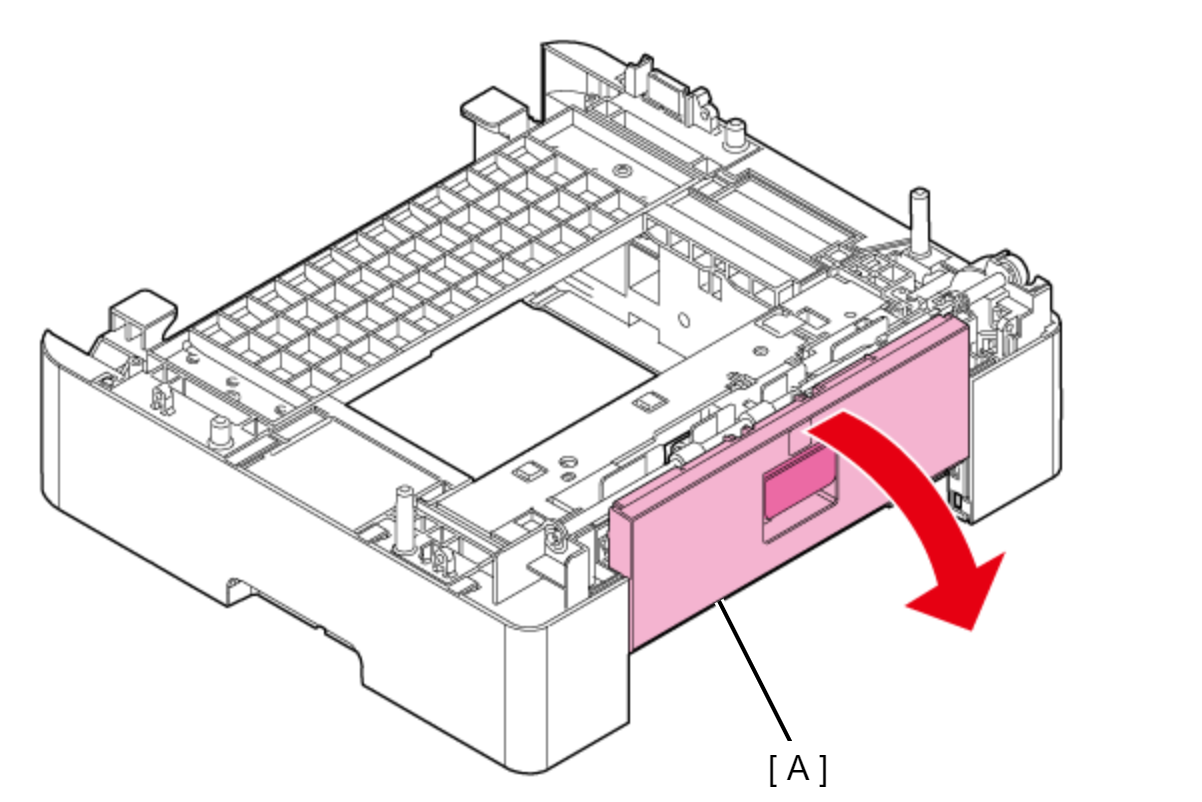
- Open the Optional Paper Cassette Rear Cover (A).
Push the Optional Paper Cassette Rear Cover Slider (A) in the direction of the red arrow to disengage the dowel from the hole in the frame, and then remove the Rear Housing (B) by pulling it in the direction of the blue arrow.
 Assembly / 組み立て
When installing the Rear Housing (A), first insert the dowel shown below into the hole in the frame (B).